
This was an easy and fun little project that I did with my granddaughter Alex. It cost around $10, not including the stuff we had already like scissors or the recycled stuff like the tin cans or the toilet paper tubes. We got nearly everything we had to buy for the project at the Dollar store or the 99c store. The seeds and gravel we got from Walmart.
For this project we used:
- 3 toilet paper tubes
- scissors
- a small bag of potting soil
- herb seeds (parsley, oregano, sage, thyme, dill, and basil)
- an old strawberry container labels removed
- 6 vegetable cans (Just rinse out with hot water, NO SOAP!)
- hammer & nail (just one nail)
- a small bag of aquarium gravel
- disposable turkey roaster pan & old plastic cup
- 10″ plastic plant pot tray
- labels (see about the labels at the bottom of this post)
To start our seeds we used…
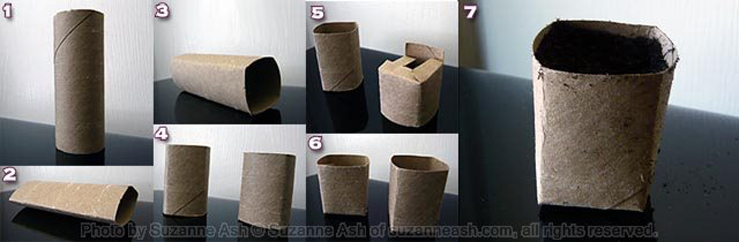
- 3 Ordinary toilet paper tubes
- Squished them one way and then the other
- Which made the tubes square when popped out
- We cut them in half to form two from each
- We made half inch cuts on the folds of one side
- When we turned them over, wah-lah we had two tiny square cups from each
- When we had 6, we filled each cup with potting soil and added a few seeds
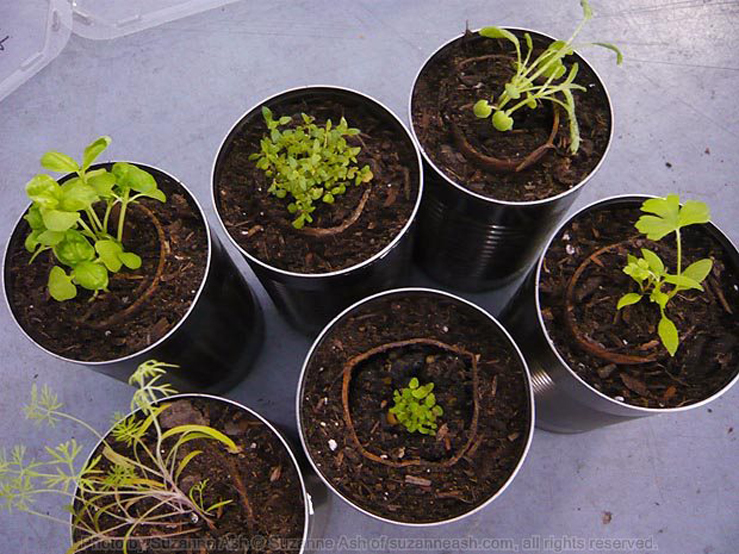
We put them in an old strawberry container to make a mini greenhouse and kept them in a sunny window. The first time we watered them, we used enough water to make sure that their toilet paper houses were soaked through, then we only watered them once or twice a week when they felt dry to the touch.
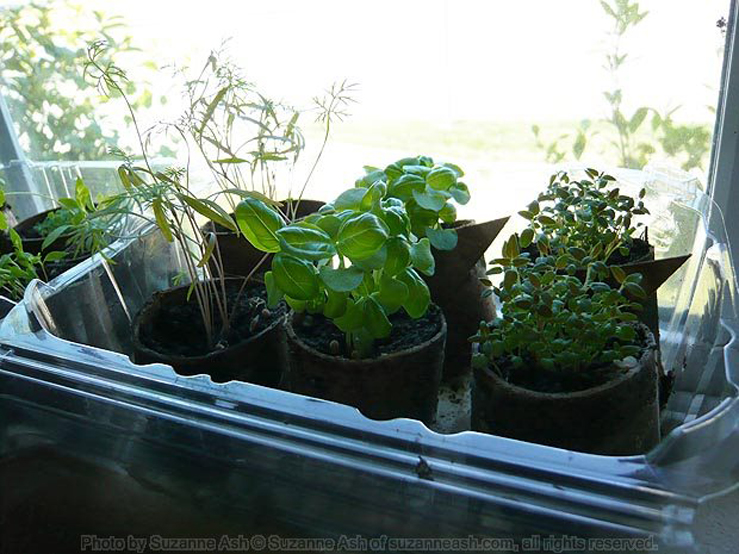
We mostly had to leave the lid off of the mini greenhouse because it stayed too moist otherwise. It took about four weeks four our herb garden to look like this. Our toilet paper houses became round again!
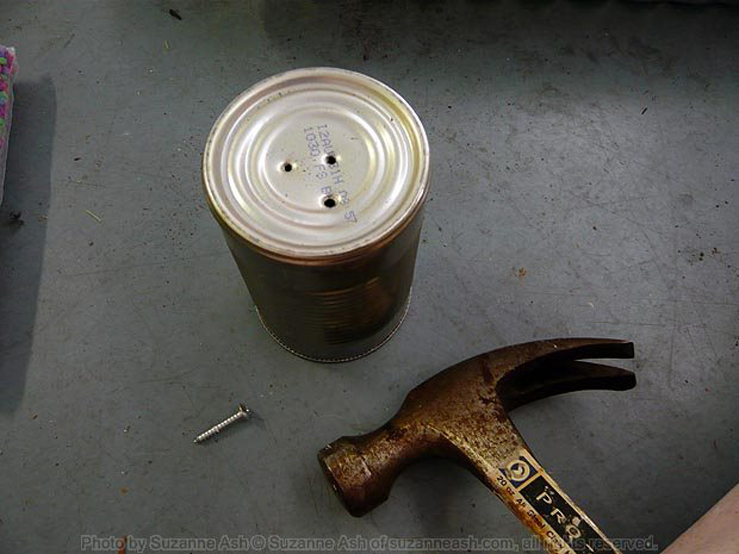
We poked a few holes in the bottom of each can with a hammer and a screw (probably better to use a nail but I couldn’t find one).
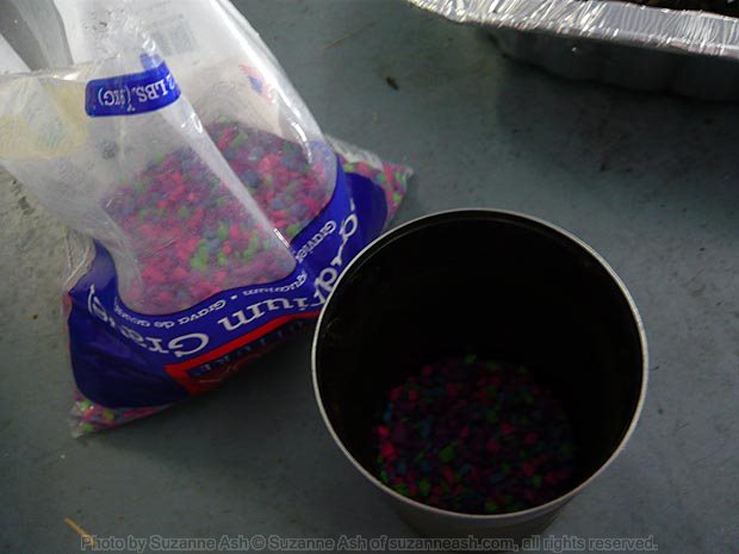
Alex put a few (kid size) handfuls of the aquarium gravel in the bottom of each can. The approximate measurement is around two tablespoons.
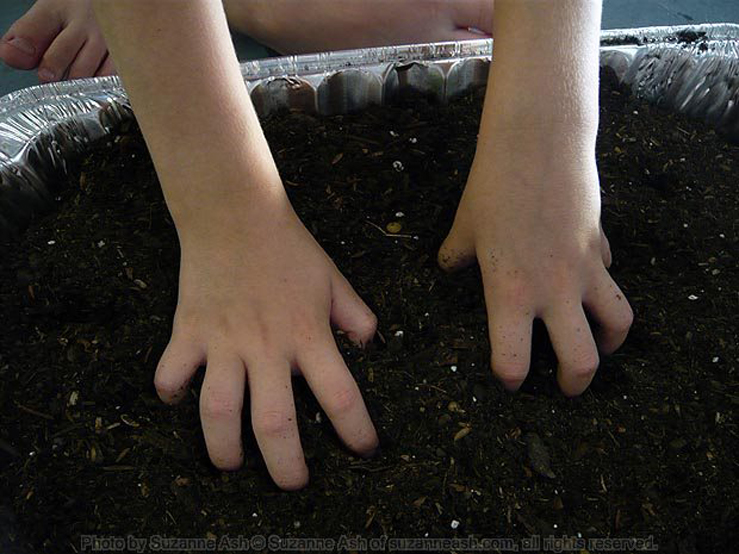
We used a disposable turkey roaster pan to make it easier to pot our seedlings and not make such a big mess. Plus, it’s just really fun to play in a big roaster pan full of dirt.
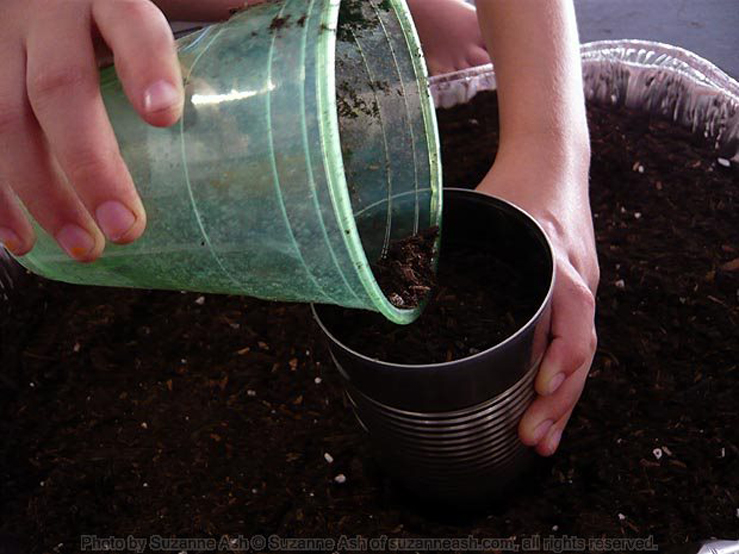
We filled the cans almost to the top with the potting soil.
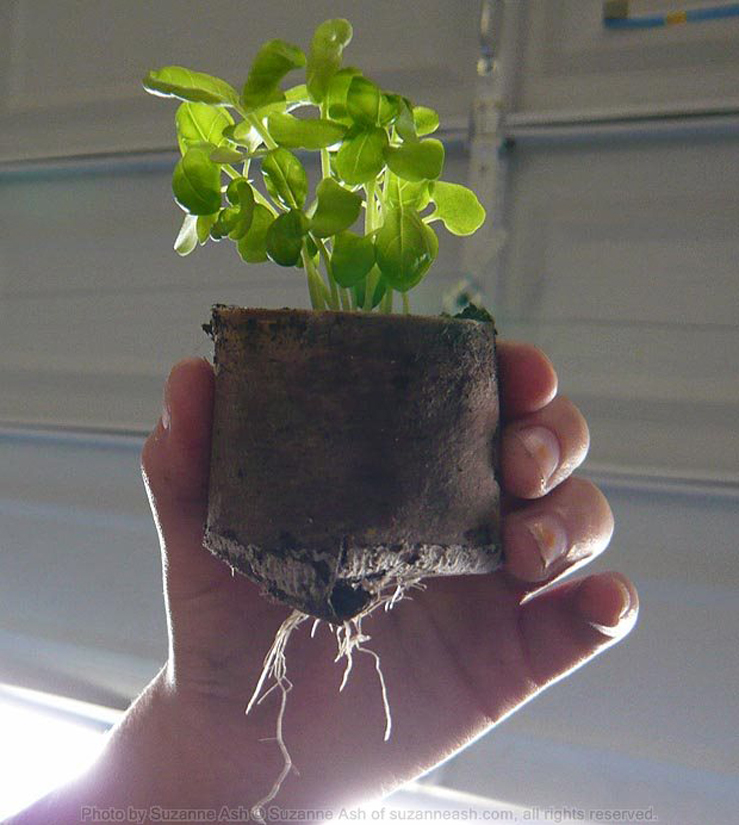
Our seedlings were really outgrowing their toilet paper houses!
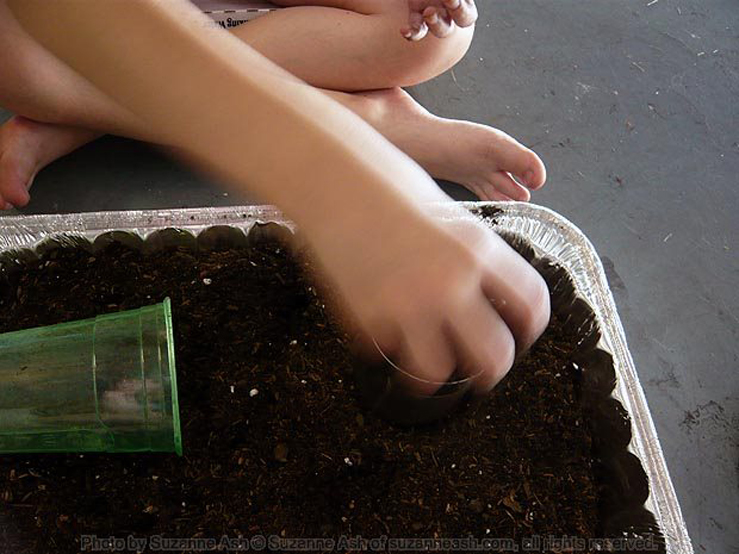
We stuck one seedling (including its toilet paper house) into a can on top of the soil and then filled in around with dirt. We got so into the potting of the seedlings that I forgot to take better pictures. Sorry!
We left a little bit of the toilet paper tube showing so we didn’t bury the seedling to deep. The toilet paper houses will disintegrate (biodegrade) over time so there is no need to remove them.
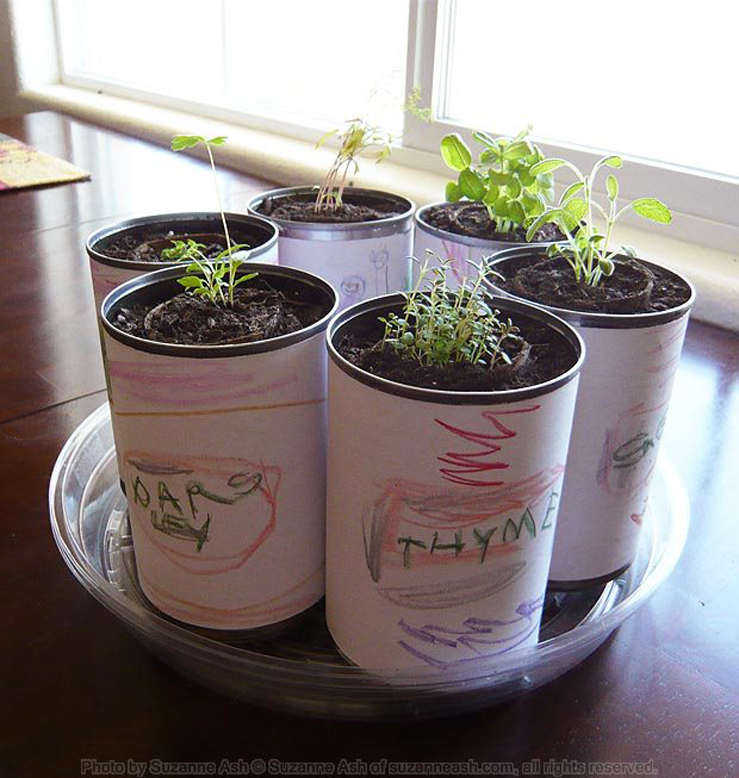
We added Alex’s homemade labels to the cans with tape and then watered the seedlings in their new freshly decorated homes. This herb garden is going to live indoors in a sunny spot and will only be watered when the soil starts to feel dry to the touch.
I’ll post updates now and then so anyone interested can see the progress.
About the labels –
Alex made her labels with crayons and some templates I printed for her. I measured up the cans (25cmX10cm) and made an outlined 50cmX20cm shape on my PC. I printed the shape on a 8″X11.5″ piece of printer paper. I cut out the shape and then folded it in half and cut down the middle. I don’t have a shmancy paper cutter so I used a ruler and a sharp knife on a cutting board, but scissors would work fine too. The templates I made have a VERY faint oval in the center, I did this to help Alex center the names of the herbs. Once decorated you can’t see the ovals at all. Alex used crayons and her own personal style to decorate her herb garden labels.
Other Posts You Might Like...
I love these moist light cornbread type muffins which are a little healthier made with the addit...
I think people of a certain age (or older) tend to appreciate a good woven or macrame plant h...
Some people say butterflied, some say spatchcock. It means the same thing really. The technique is...