
The new school year is looming and all the stores have started displaying their back to school supplies. Even though it’s been a long time since I was in school I still love new paper, pens, and pencils. I especially have a thing for lined notebooks. For me, writing with a pen or pencil on a lined notebook is satisfying in a way that typing on the computer just can’t compete with. I scribble my notes and make lists, I plan and figure and doodle. I’ve done it all my life so far, and I don’t see that changing. Now that I’m drawing I have my sketchbooks too. All these lovely books… except, they aren’t all lovely. In fact, I’m too cheap to spend much money on them so I end up with the just plain or just plain ugly ones. I have so much craft crap stuff that it’s easy to just customize my notebooks and sketchbooks myself so they are beautiful or fun or interesting looking and generally very inexpensive.
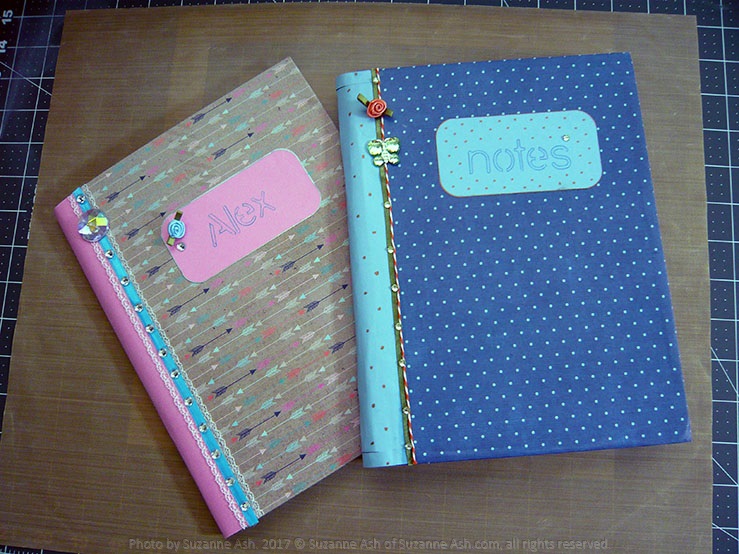
My granddaughter and I got together recently and covered a couple of composition notebook we got at the Dollar Tree. We used stuff from my crafting stash, but you can pick up designer paper from Michaels fairly cheap and the Dollar Tree also sells tons of crafting supplies.
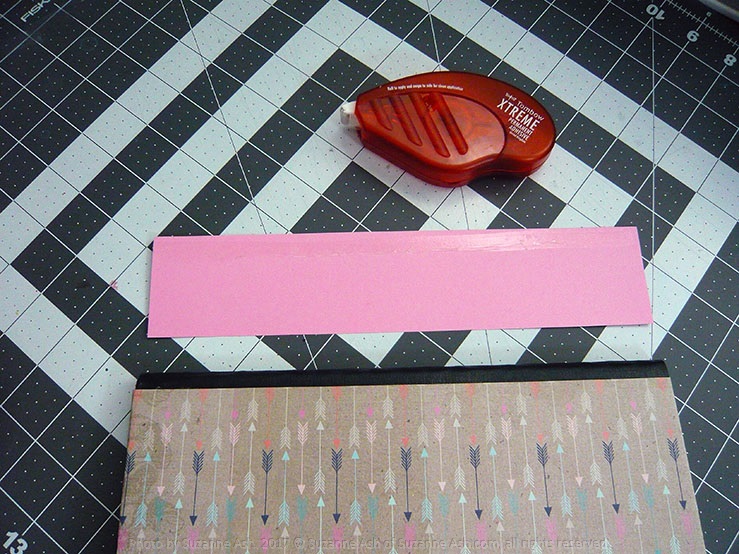
Here is what we used…
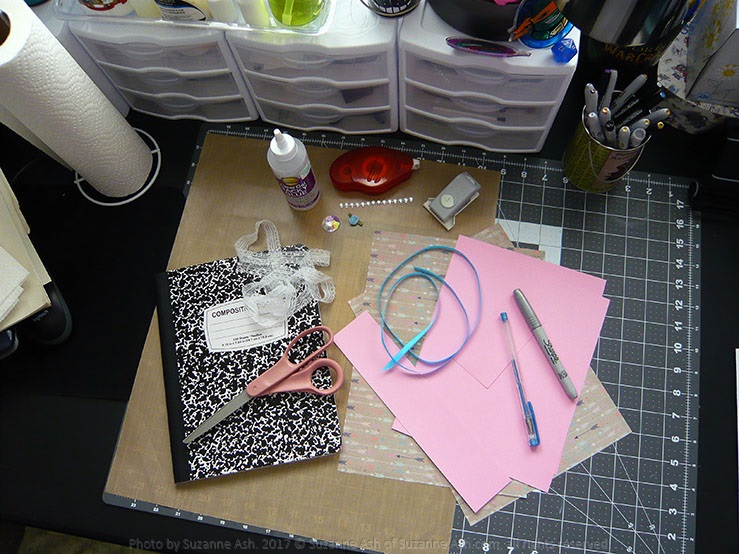 Designer paper cut into two 11 x 8” pieces
- Colored construction paper cut into two 9 x 7” pieces
- Colored construction paper cut into one 9 & 5/8 x 2” piece
- Colored construction paper cut into one 4 x 2” piece
- Tombow Extreme adhesive runner
- Aleene’s clear tacky glue
- Metallic Sharpie
- Colored gel pen
- Scissors
- Corner rounder
- Embellishments (ribbon, string, lace, jewel dots, tiny fabric flowers)
Here is what we did…

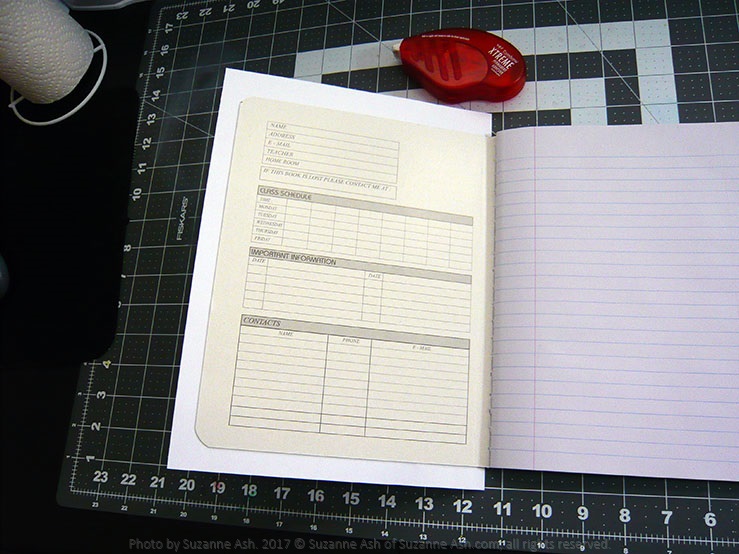
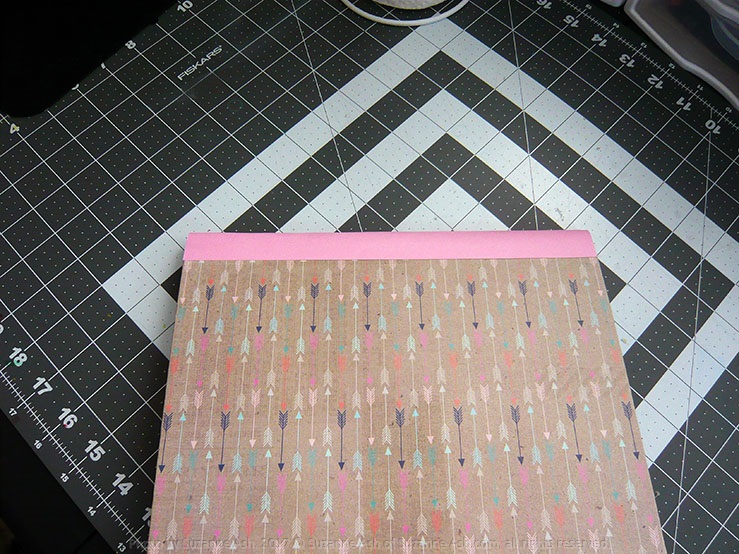
We took one of the 11 x 8” pieces of paper and used the Tombow glue to stick it to the front cover by running the glue around the edges of the cover and then pressing the cover into the paper on a flat surface.
We then folded the paper around the cover and unfolded it.
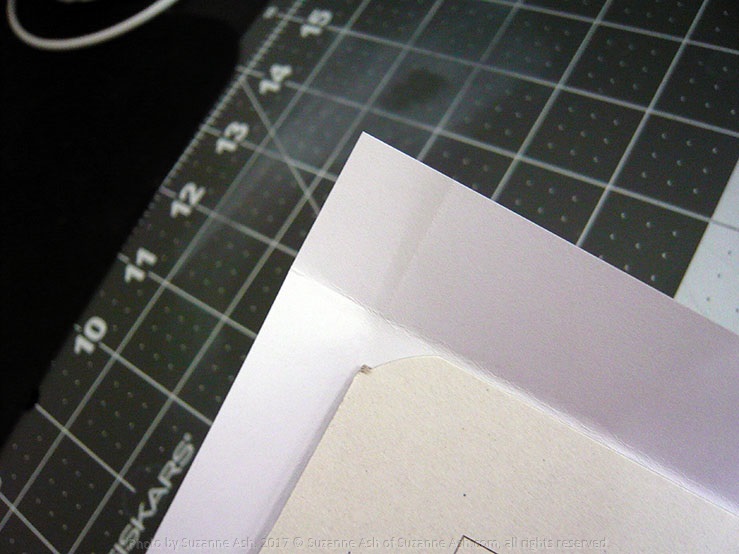
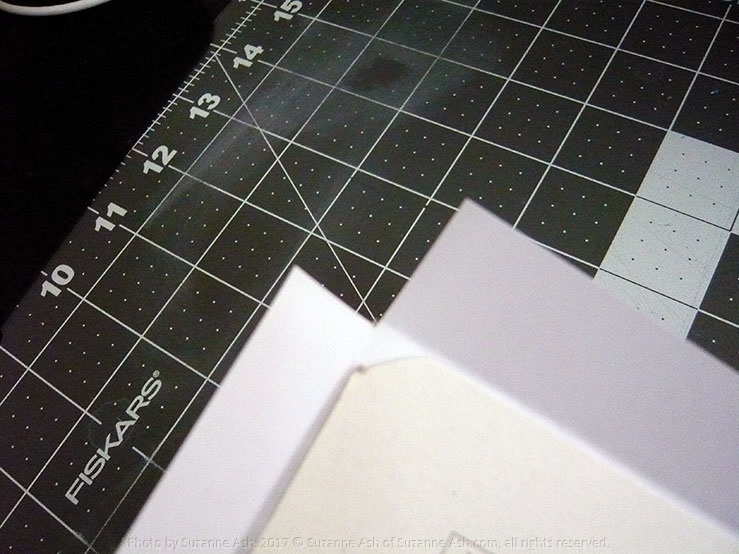
Folding created little squares in the corners that we cut out.

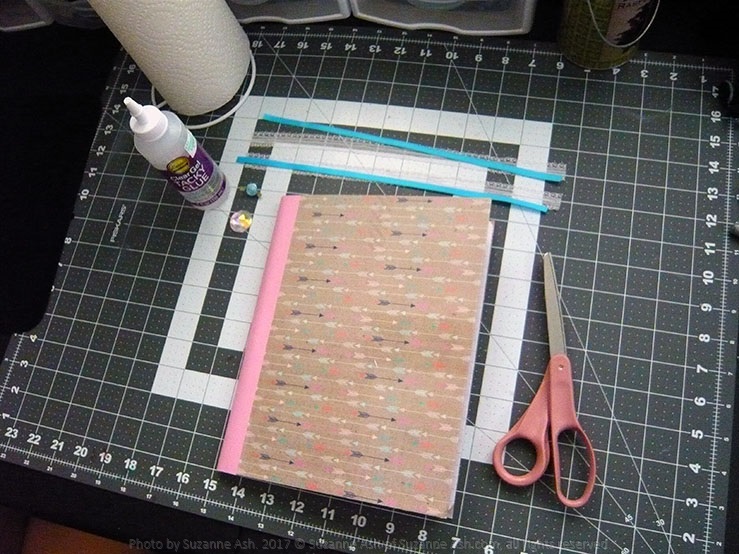
We then used the Tombow glue on the inside edge of the cover and stick down the paper, outside edge last. We then placed Tombow on the edge of one of the 9 x 7” pieces of paper and centered that on the inside cover. We then repeated this on the back cover.

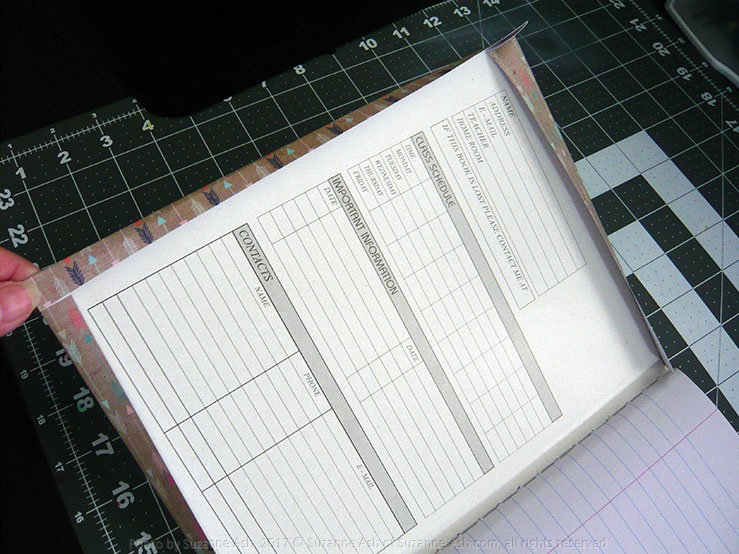
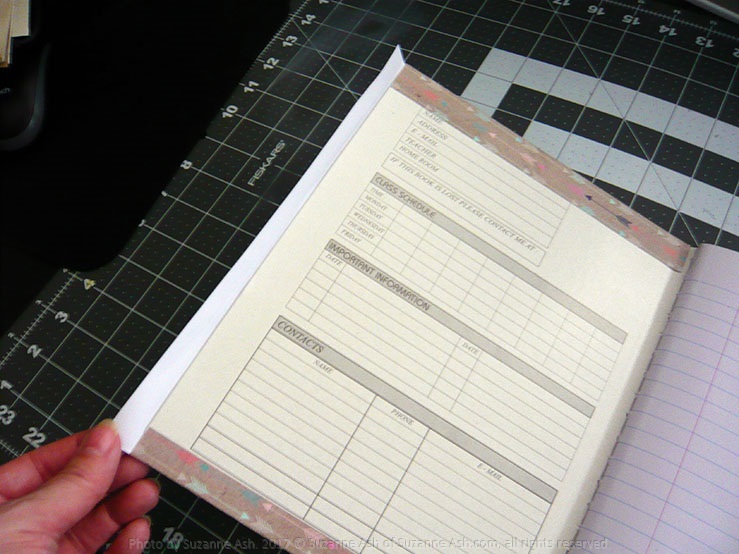
Once both the back and front were covered, we took the 9 & 5/8 x 2” piece of paper and used the Tombow to glue it down over the spine. We made sure we centered the piece of paper before securing it. We then placed Tombow on the other side of the 9 & 5/8 x 2” piece of paper and wrapped it around the spine (pictured below).
Then it was time to decorate!
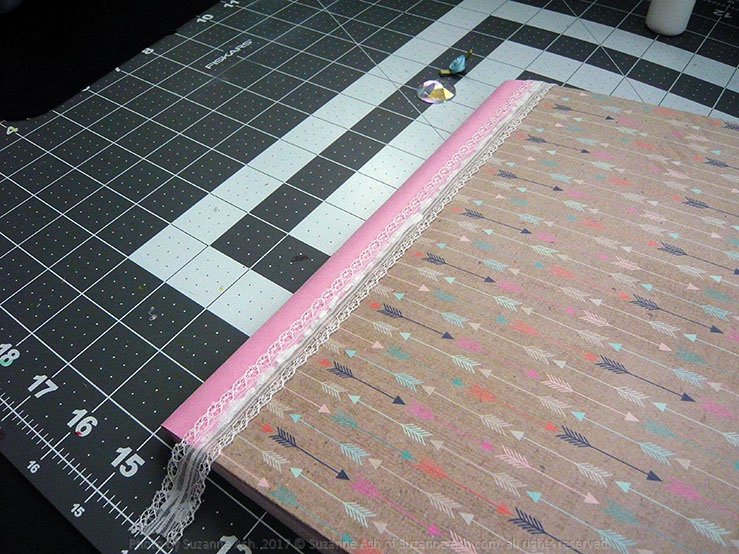
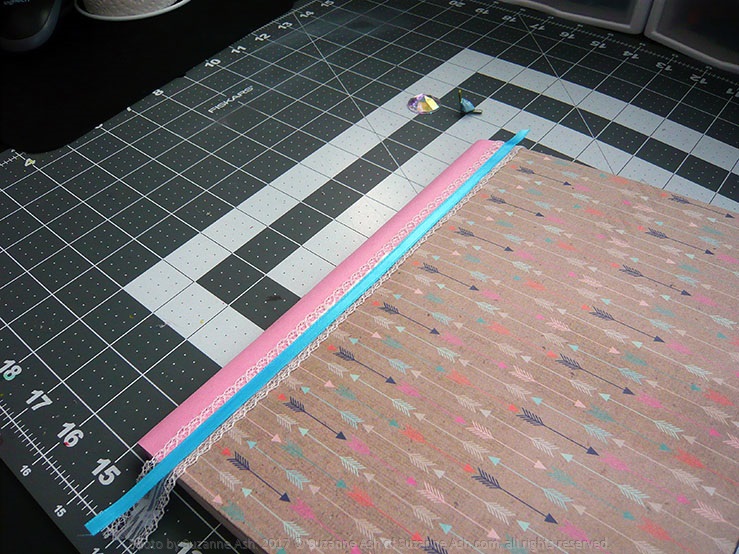
We first glued a strip of lace down the edge of the paper covering the spine. Then we added a little more glue and covered the center of the lace with a strip of cloth ribbon. Aleen’s Clear Glue was perfect for this.

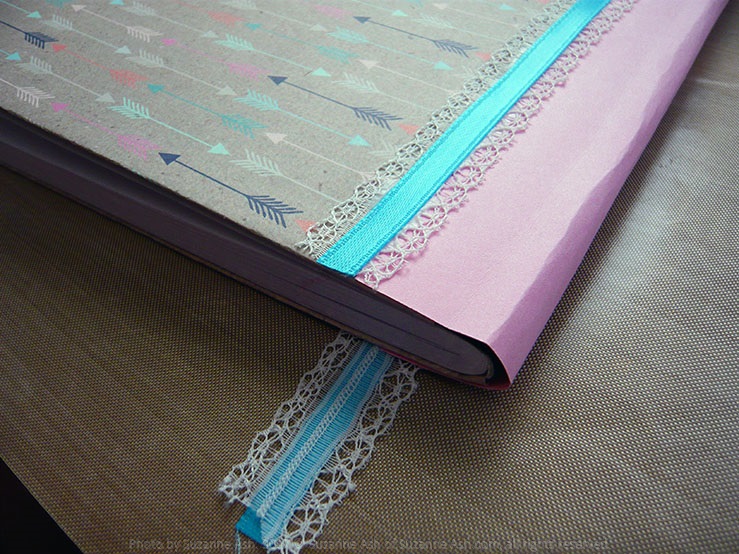
We repeated on the other side, before using scissors to trim up the ribbon and lace to the edge of the paper.
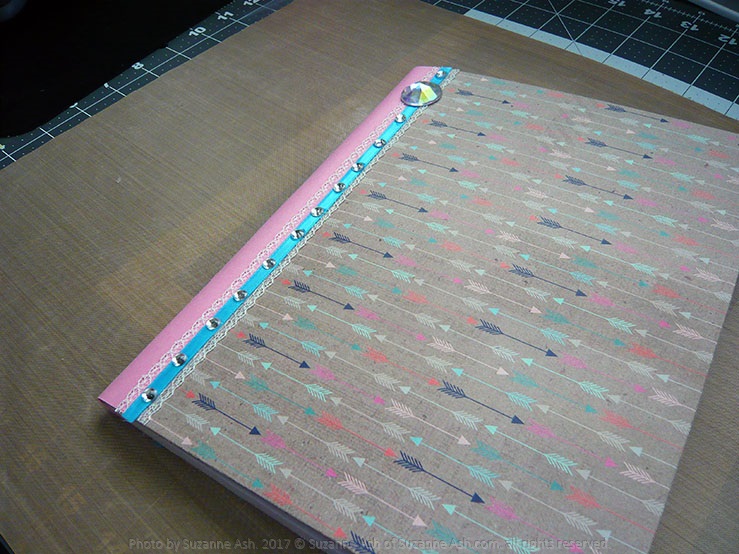
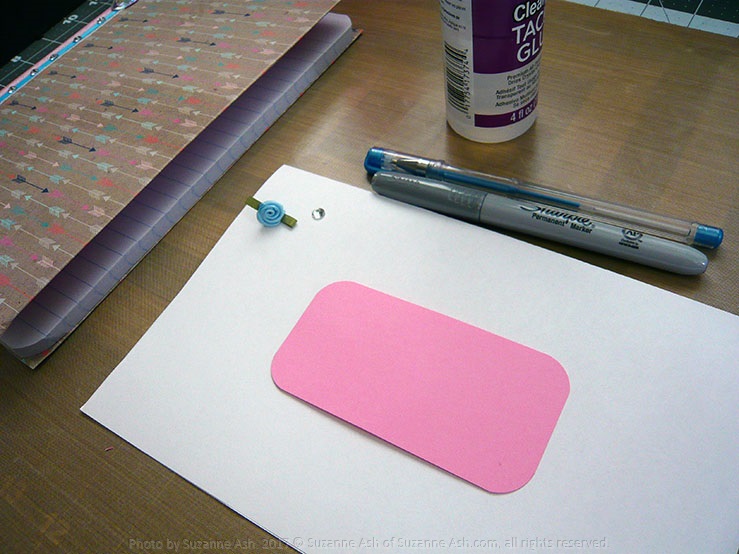
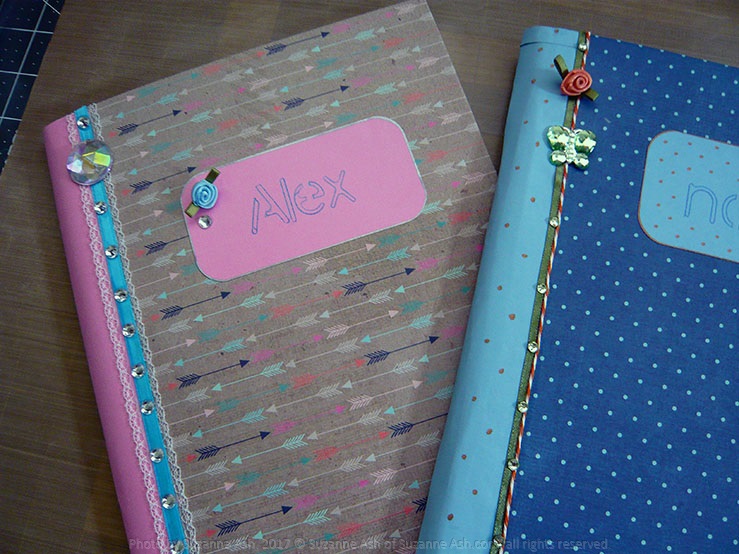
We then glued on our shiny embellishments still using the Aleen’s Clear Glue, before moving on to decoration the title piece. We used the corner rounder to get the shape we wanted and after decorating we used Aleen’s Clear Glue to fasten it to the front.
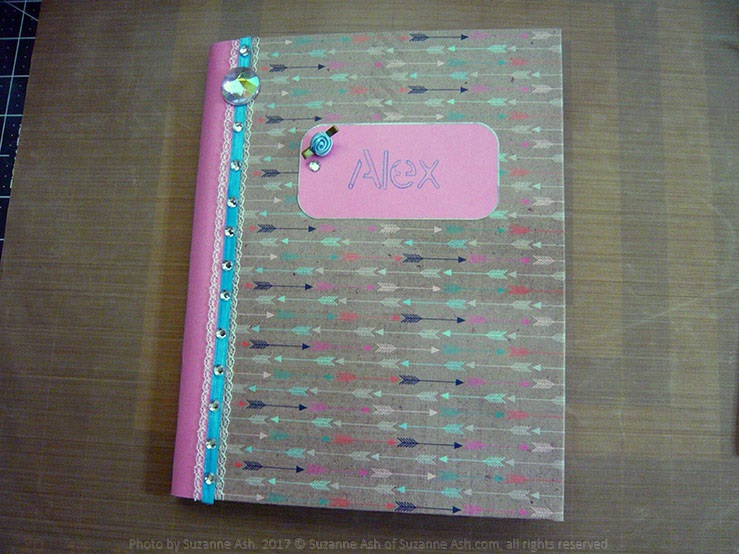
All done! This project took longer to pick out the colors and embellishments than it did to put it together.
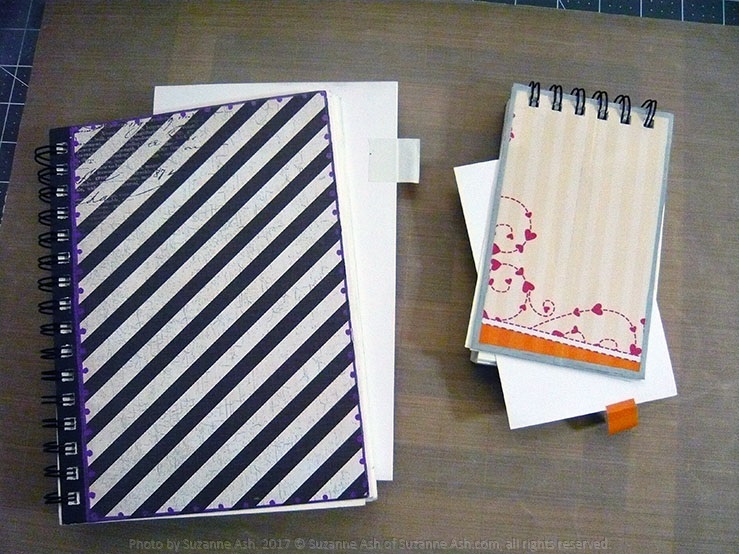
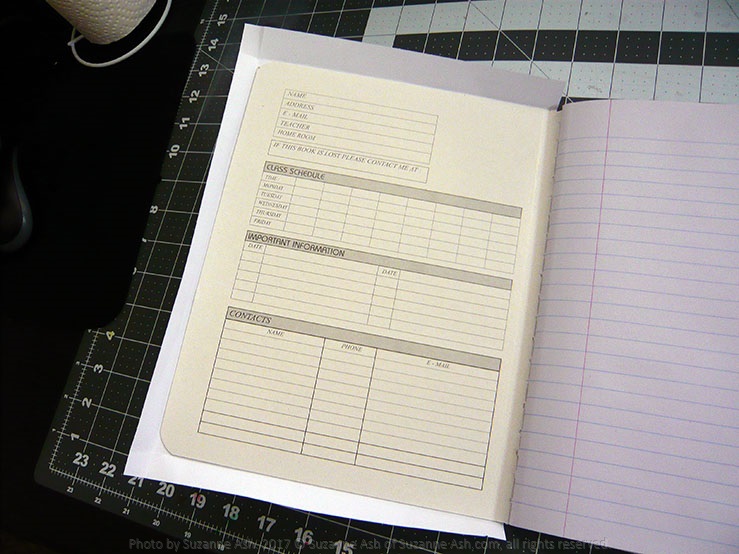
I made my own covered composition book, as well as a few covered sketchbooks using basically the same method. I like to use a blank piece of paper slightly smaller than the book and put a small piece of tape on it like a tab. It functions as both a place marker and a protector. I put it behind the page I’m drawing on to protect the next page (in case I press too hard).
Other Posts You Might Like...
These are a nice alternative to baked or mashed potatoes. I tend to serve them with BBQ'd or grill...
These eggless cupcakes are basically slapped together using mostly store cupboard ingredients, and...
I generally buy my granddaughter an Advent Calendar, and it's most usually a crappy $3 one from th...