
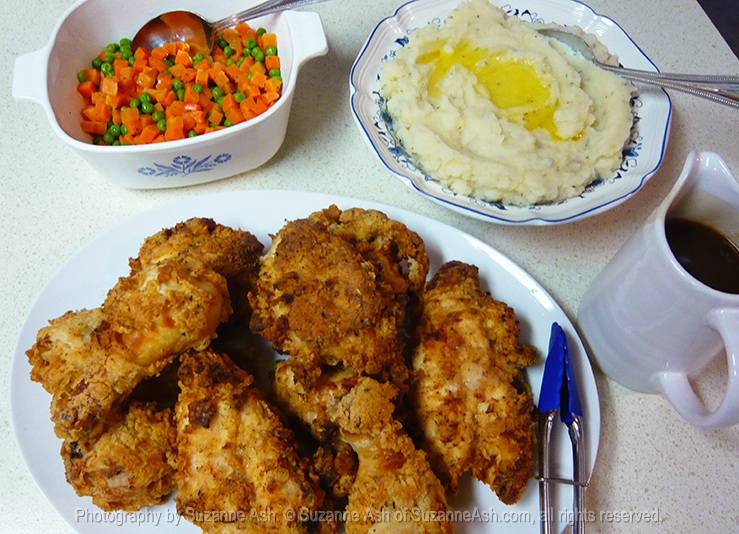
I don’t eat fried chicken very often, but when I do I want it to be juicy and crispy without being overly browned or greasy. So, I started making this version around 15-years ago. Prior to using this version, I found it difficult to get the chicken cooked through without burning it on the outside and baking it to finish it off works out really well. In fact, sometimes I even ditch the frying part and just roll the pieces in breadcrumbs and bake them… but that’s another recipe for another day.
Ingredients
- 6 lbs of chicken pieces (see notes)
- 24 fl oz low-fat buttermilk (see notes)
- 2 cups all-purpose flour
- 1 tsp garlic powder
- 1 tsp onion powder
- 1 tsp chili powder
- 2 tsp sweet paprika
- 2 tsp Italian Seasonings
- 2 tsp kosher salt
- 1 tsp fresh ground black pepper
Special Equipment
- Deep fryer (OR heavy pot) and Frying Oil
- Instant read thermometer
- Rimmed baking sheet
- Heat/ovenproof cooling rack
Instructions
- Place the chicken pieces into a large zip top bag. Add the buttermilk and seal. Gently squish the chicken pieces around so that they are all well coated in the buttermilk. Open the bag a little and carefully press out any air and reseal. Place in a large bowl and refrigerate for at least 2 hours, but overnight is better. You don’t NEED to but if you remember, turn the bag every now and then.
- About an hour before you are ready to serve, place a layer of paper towel down on the baking sheet, then place the cooling rack on top of that. Heat your deep fryer to 350f and your oven to 375f.
- While the fryer and oven are heating put the flour, garlic powder, onion powder, chili powder, paprika, Italian seasonings, salt and pepper into a deep wide bowl and whisk to combine. Set out a large platter covered well in plastic wrap.
- Drain the chicken pieces in a colander and then one at a time put them into the flour mixture and coat well. Gently tap off any excess flour and place the pieces onto the covered platter. Discard any leftover flour mixture.
- Fry the chicken pieces in batches until golden brown, about 3 to 4 minutes per side. Place the chicken pieces on the prepared rack. Repeat until all the chicken is fried, making sure to bring the oil back up to 350f in-between batches.
- When all the chicken has been fried, place the baking sheet into the oven for 30 to 40 minutes to finish cooking. All pieces should register 165f and/or when pierced the juices should run clear.
Makes Approximately 8 Servings
Notes
- 2 whole chickens, cut into 6 to 8 pieces without using the backs or wings. 2 best of the fryer packs, or just any combination of chicken pieces. They should have the skin and bones intact for best results. However, I’ve done this with boneless/skinless chicken breasts and thighs and it’s worked pretty good, except the coating didn’t stay on as well.
- I use low-fat buttermilk, but full fat will work too. I don’t recommend using the “milk & vinegar” version that is often suggested as a baking substitute.
- This method doesn’t allow for easy “chicken fried gravy”, so you’d have to just make milk fried gravy or a brown chicken gravy (that’s what I do).
Facebook Comments
Other Posts You Might Like...
Salad Tacos
This recipe is an adaption of the Pioneer Woman's original recipe. I did try it her way but since ...
This recipe is an adaption of the Pioneer Woman's original recipe. I did try it her way but since ...
Tiramasortof
Tiramisu is one of my favorite desserts, but I rarely ever make it. The Italian ladyfinger cooki...
Tiramisu is one of my favorite desserts, but I rarely ever make it. The Italian ladyfinger cooki...
Whole Grain Rice Pudding
I know brown rice isn't for everyone, but I really like it. When I was a kid I put butter, sugar...
I know brown rice isn't for everyone, but I really like it. When I was a kid I put butter, sugar...