
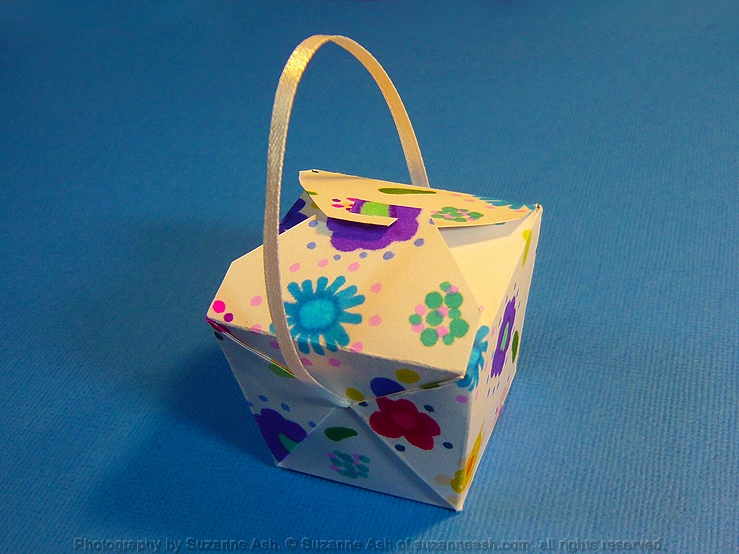
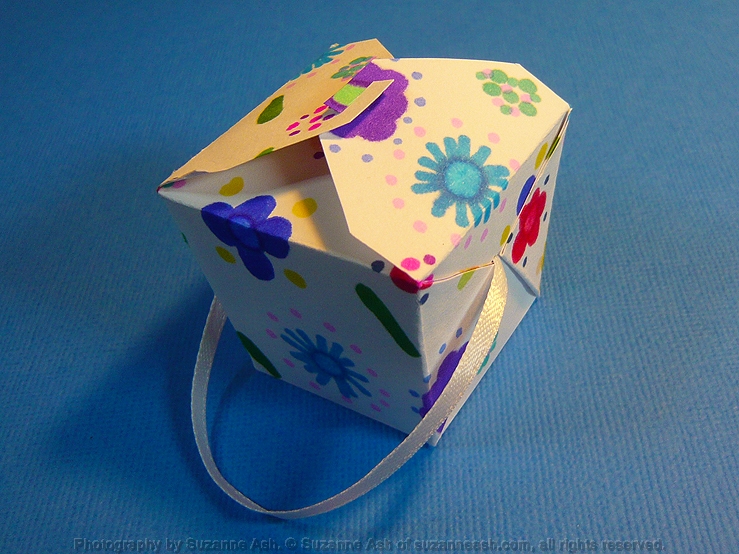
Isn’t this a cute little project? I just love miniature stuff, and I love boxes. So I find this particular craft project absolutely adorable! I wanted to use these boxes as party favors at my Christmas party, but I ran out of time and didn’t end up creating the pattern until the new year, but I’m sure I’ll find a use for this in the future. It’s small, but not so tiny that you couldn’t fit a small gift or some candy inside. With a little creativity, you could make this into a name place setting for a dinner party and fill it with after-dinner mints. It’s pretty easy to make, and you won’t have to figure out the pattern for yourself as I’ve provided the one I made in the link below. There are some simple instructions on the pattern itself, and more detailed instructions below with photos.
Pattern File Link —> MiniChineseTakeoutBoxPattern
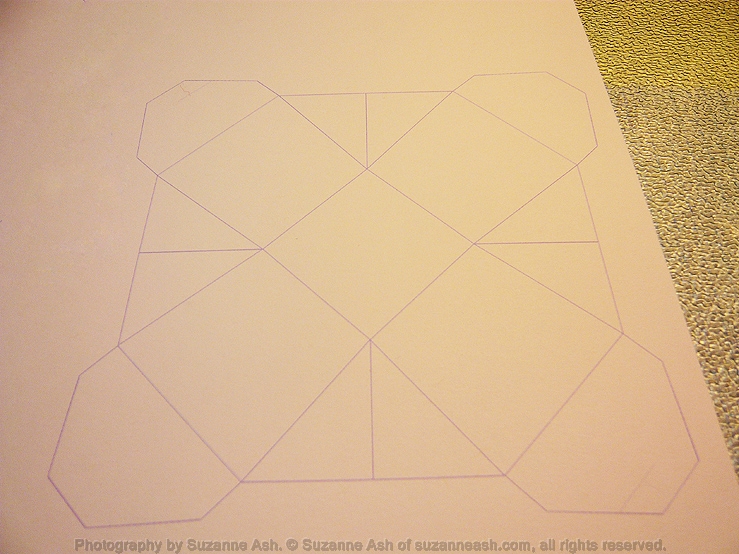
To print this pattern, use letter size (8.5 x 11.0 in) 65 lb. or heavier card stock and use the “fit to page” setting. If you’d like a fancier look, decorate by hand on the side opposite the pattern after you print it, or print a design on one side of the paper, flip it over and then print this pattern on the opposite side, or use designer (preprinted design) paper and print the pattern on the plain side or side that will be used as the inside of the box.
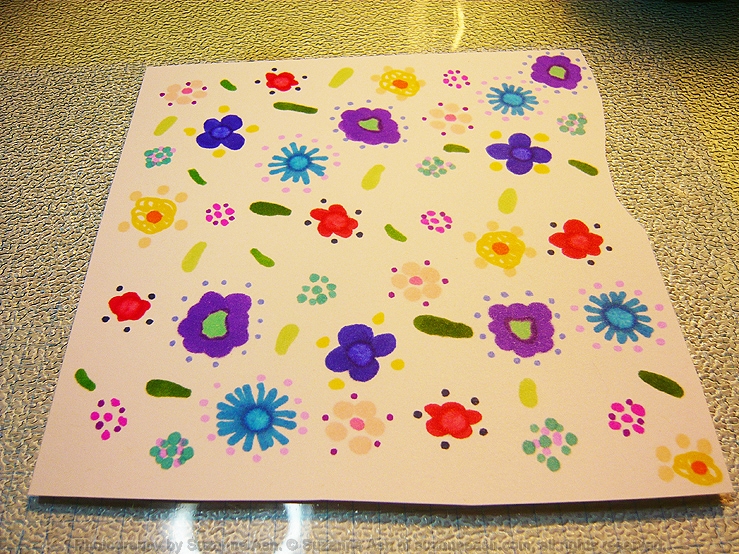
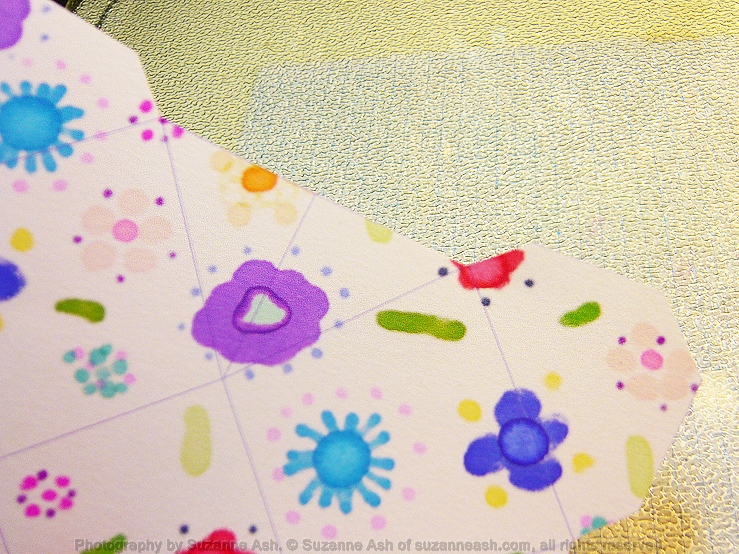
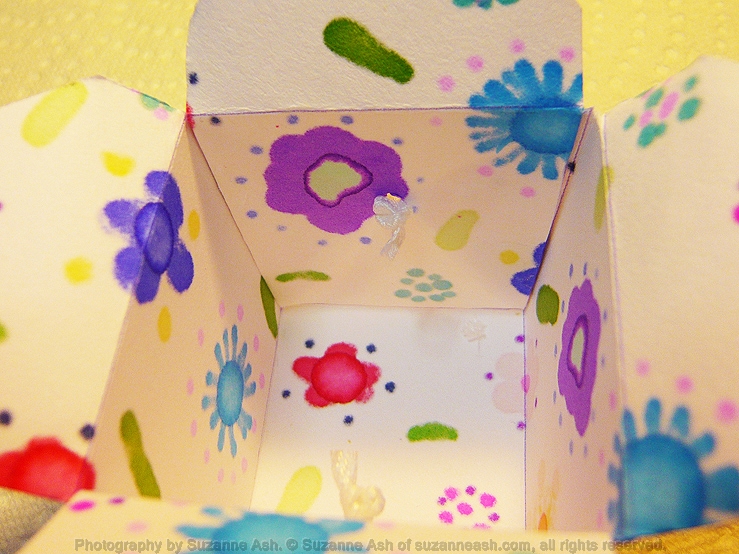
I chose to flip the paper over and draw on a pattern with marker pens. You could also print a pattern on your printer or use designer printed paper, just be sure that the fancy print side is on the opposite side of the box pattern.
My markers bled through to the other side, which is fine since I won’t be using this box for food and I’ll be lining it with tissue type wrapping paper.
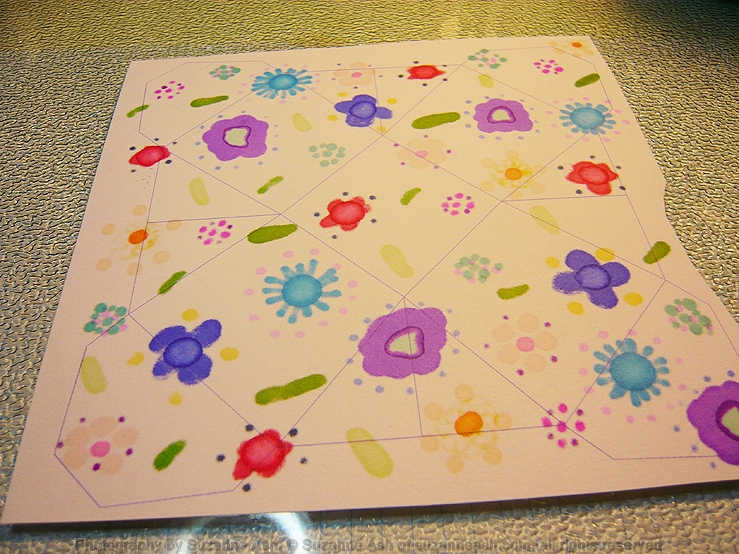
Once you’re happy with your design, cut off all the outer solid lines of the pattern.
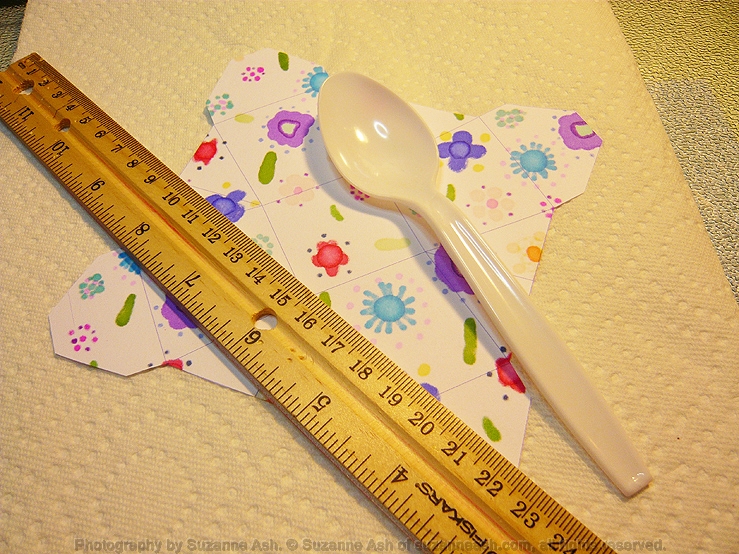
You’ll need a ruler and a small blunt object to score with. A dotting tool or a bone folder works best, but if you don’t have either you can use a nonserrated side of a butter knife, a plastic spoon, an orange stick or a pen that has completely run out of ink.
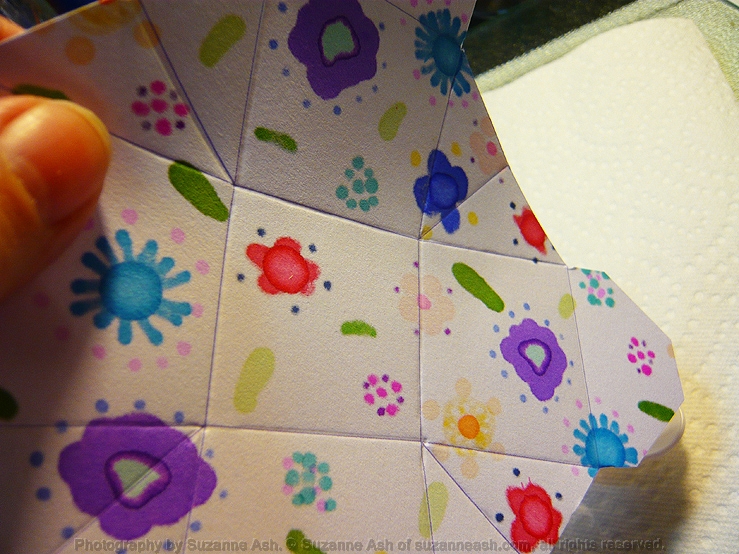
Score on all the solid lines, making sure that the score lines are deep, but do not rip or tear the paper.
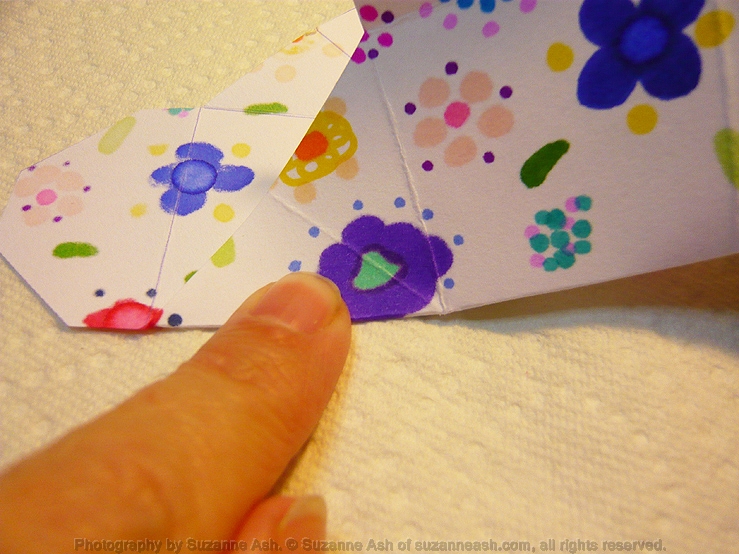
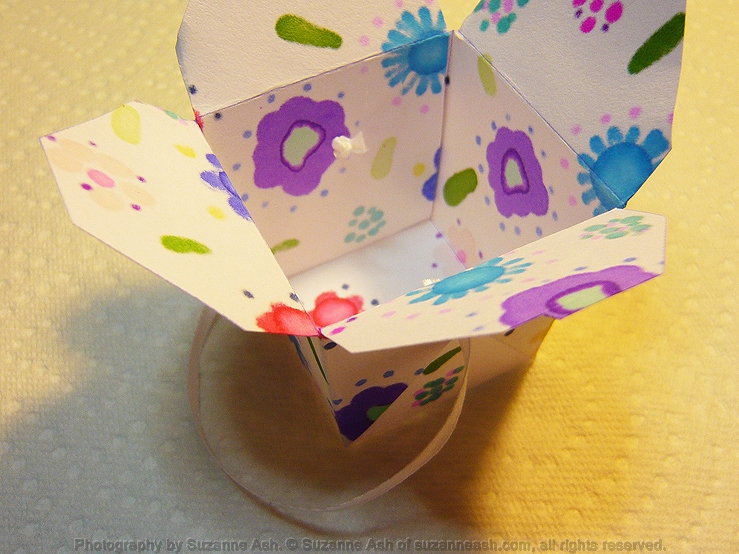
Once you have scored all the solid lines, carefully fold all the score lines inward, ignoring the middle of the “T” shaped diagonals.
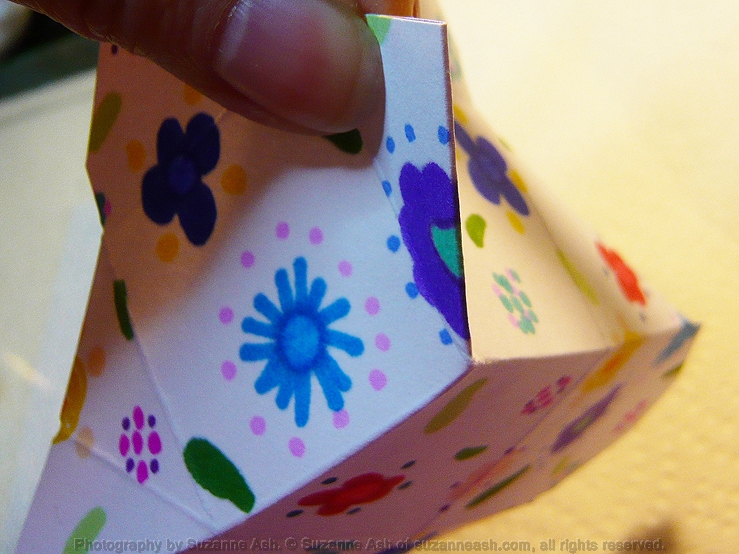
Then, bring the box together pushing out the “T” shaped diagonals. Fold the diagonals by pushing them outward and pinching them together to form “wings”.
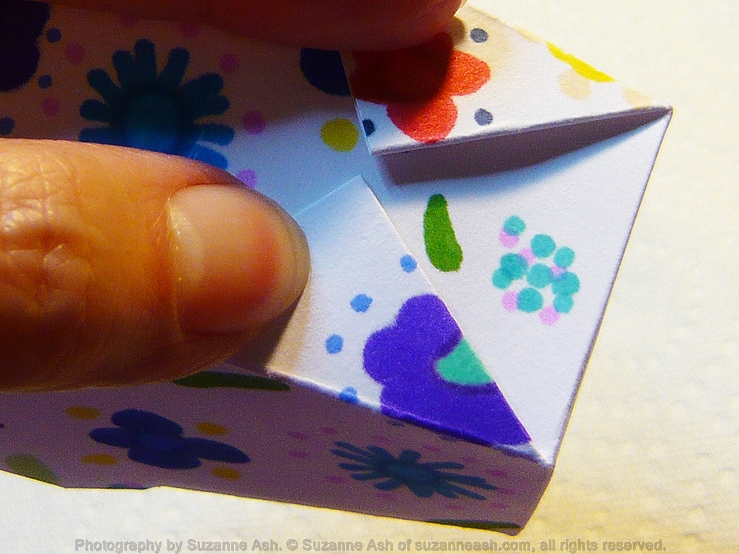
Bring the tips of two of the wings together on one side of the box.
Unfold the box and place a dot of glue in the middle of the inside of each wing near the top, and on the outside, but only on the two triangles closest to the side you’ll be gluing them to.
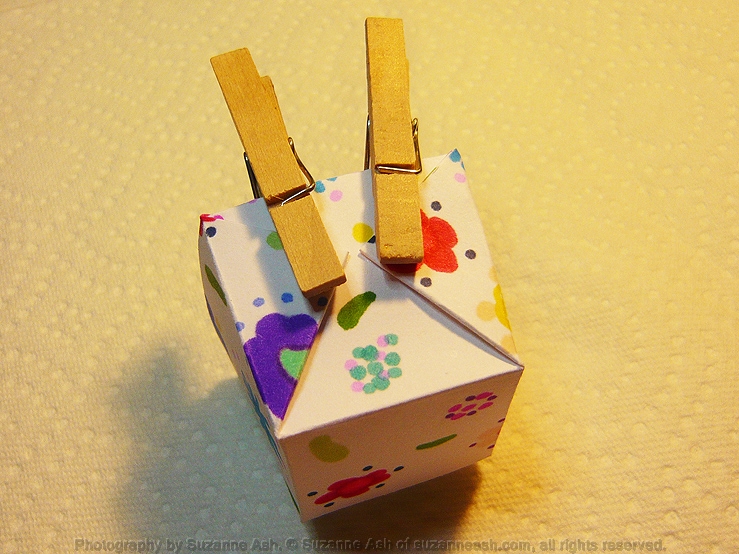
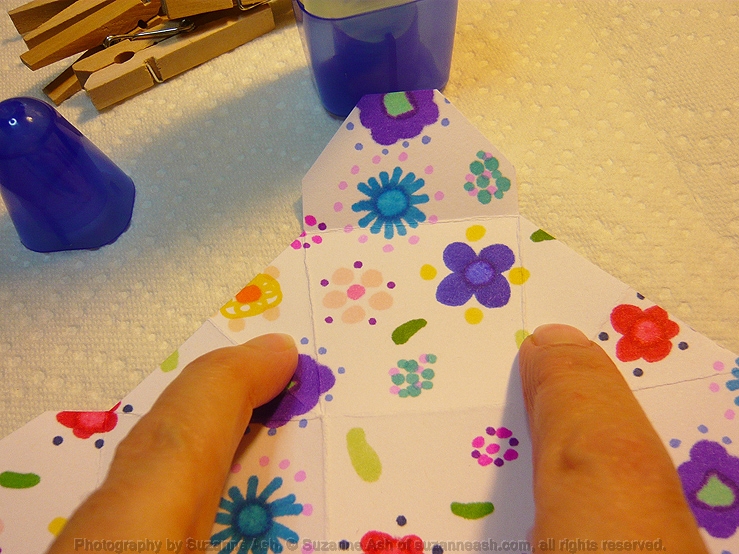
Fold down the top tab after you bring the wings together. Then, secure them and let them dry. I used mini clothes pins.
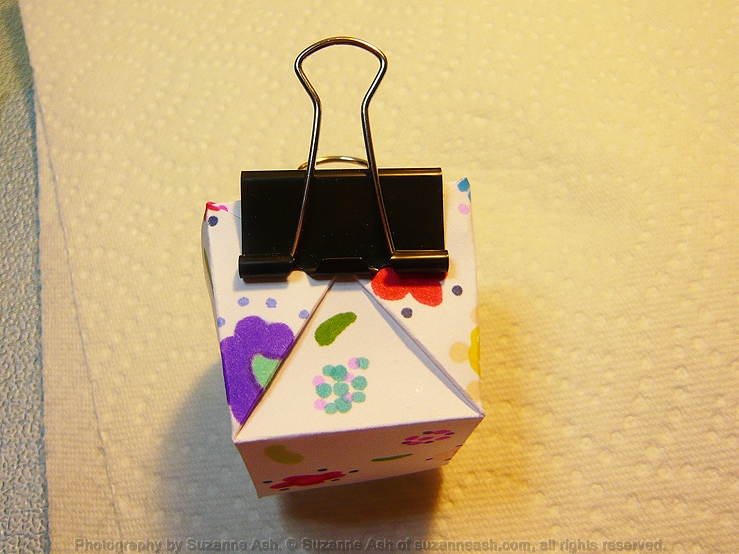
You could use full-size clothes pins or even a binder clip.
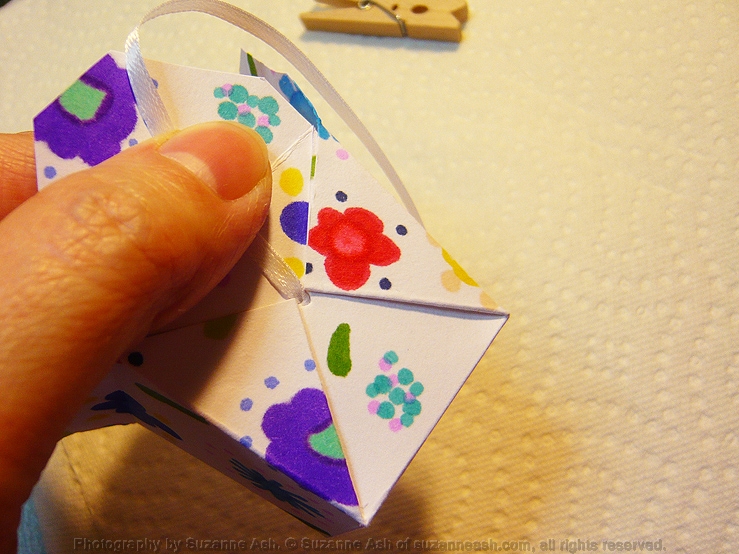
Once the glue has set, you can poke small holes in-between the tips of the glued down wings and thread in string or ribbon from the outside in.
I suggest tying triple knots on the ends of the ribbon on the inside to secure it.

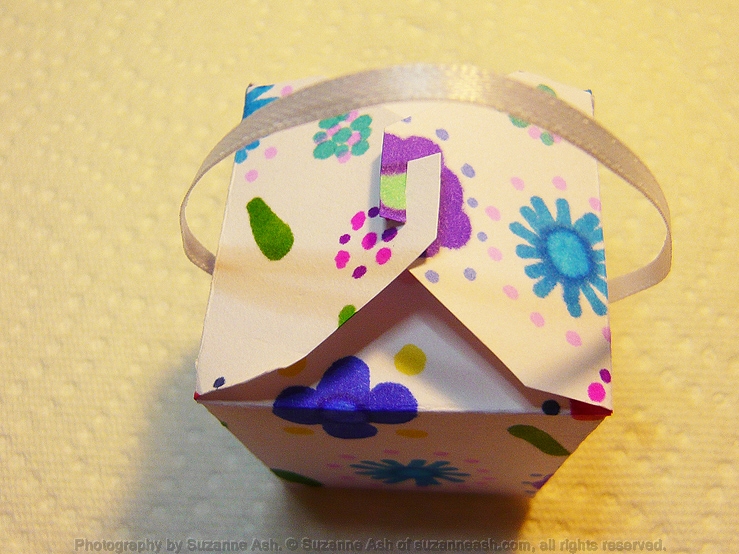
Cut on the dotted lines at the top of two of the tabs to create a closure, or skip this step and keep the box closed, however you’d like.

Add embellishments or decorations if you’d like. I chose to leave mine as is.
I regretted my decision to add “leafs” to my flower design, as they look a lot like pickles!
The box is large enough to hold a small gift and/or some food treats.
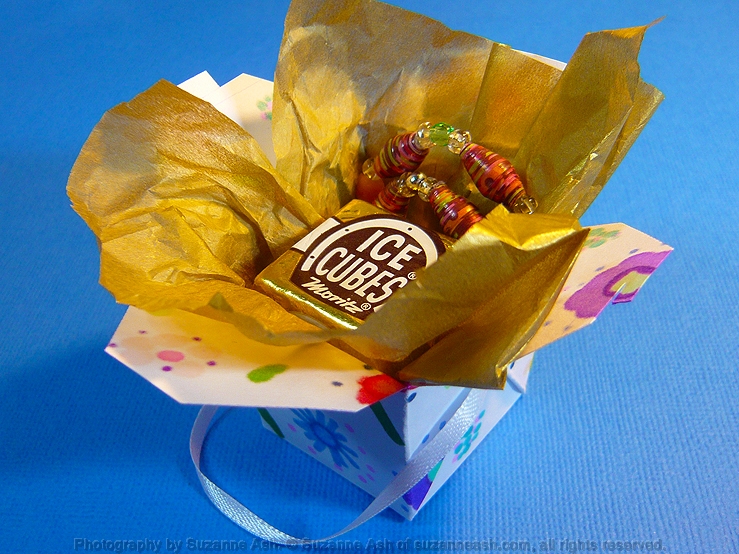
I chose to stuff a little tissue paper into mine, then put in a few chocolates and a bead bracelet.
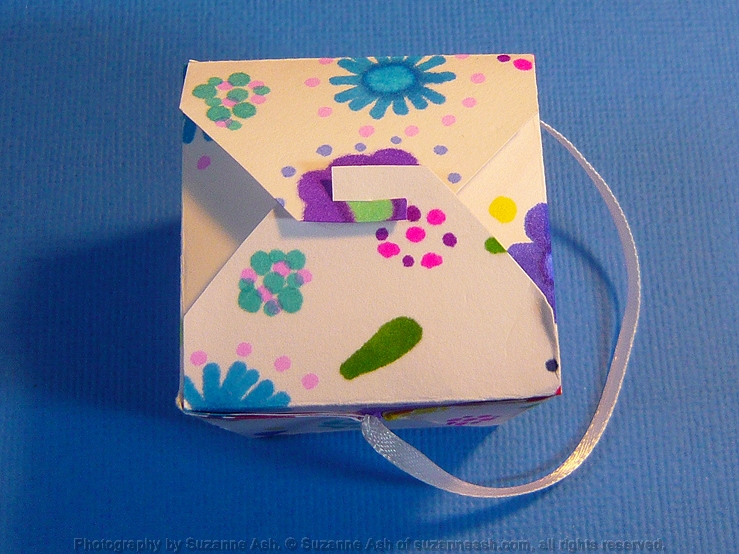
Even if the box is a little overfilled, it will still close easily if you cut along the dotted lines to create the closure. You just push on either side of the box that has the tabs and hook the two tabs together.
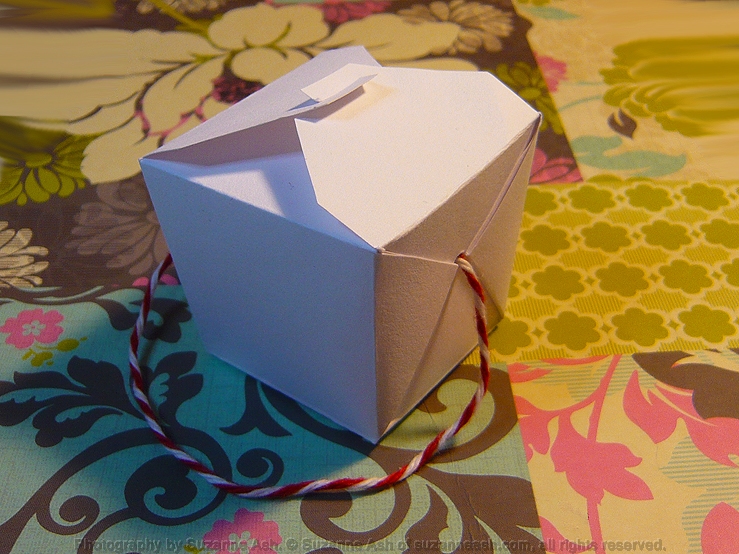
This is my prototype. I made it from the same cardstock but didn’t decorate it, I finished it with some red striped baker’s twine I got from DollarTree.
NOTES…
I would stick to 65lb(ish) card stock for this if you want to put anything inside it. However, if you don’t want to invest in cardstock as an alternative, you could use an empty cereal box or other similar thin packaging.
Other Posts You Might Like...
For Thanksgiving this year, my granddaughter and I made some really simple and easy napkin ri...
Do you ever play games at your family gatherings? I think it's a lot more fun then vegging out in ...
I've saved up several different types of egg cartons to experiment with making egg carton flo...