
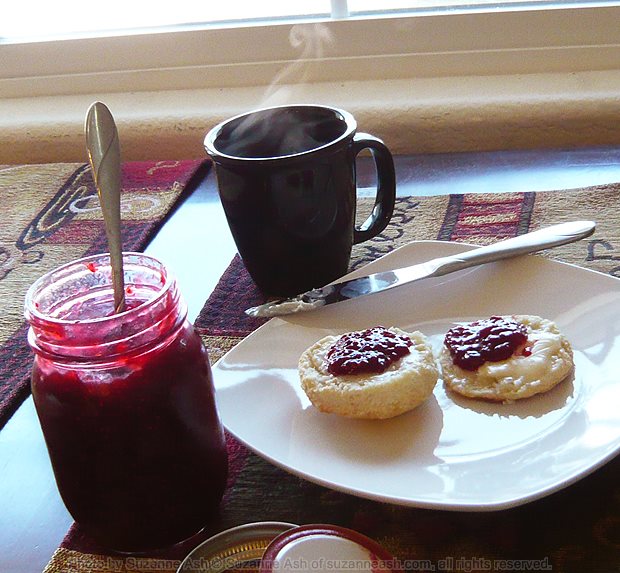
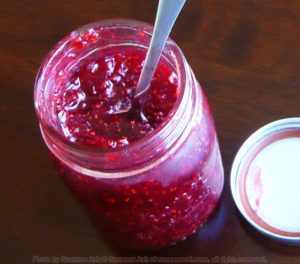
I recently saw a recipe for scones in a magazine, the scones in the recipe’s accompanying picture were topped with jam and clotted cream. There was a little explanation at the end of the recipe as to whether to put on the jam or the clotted cream on first and that there was a wrong way and a right way. I remembered hearing about this “controversy” when I lived in England. Seriously, who gives a crap? The picture above is of homemade raspberry jam on top of butter on top of a homemade scone. That is how I like them. I didn’t use the recipe from the aforementioned magazine, I used a recipe that didn’t specify what I was supposed to put on them or try to get me involved in an argument. The picture below is of just the jam from my recipe.
Ingredients
- 1 x 12 oz bag frozen raspberries, thawed
- 1 ½ cups white granulated sugar
- 2 tsp lemon juice
- 2 tsp butter
Instructions
- Place the defrosted berries in a glass bowl and smoosh them well with a fork. Once very smooshed, add them to a 2-quart saucepan.
- Stir in the sugar and lemon juice and place over high heat. Bring to a boil stirring occasionally.
- As soon the jam starts to boil, no more stirring! Carefully add the butter and don’t stir it in, just leave it to melt. Let the jam boil vigorously for 5 minutes. Watch it carefully and make sure it doesn’t boil over.
- After 5 minutes of boiling, reduce the heat so that the jam is at a gentle simmer. Simmer the jam gently for 15 minutes. Don’t stir it!
- Pour into a clean heatproof jar, leave a half inch gap at the top. Use a clean cloth/paper towel dipped in warm water to wipe away that gets on the neck where the lid goes. Seal the jar and leave to cool at room temperature for 12 hours.
- After 12 hours the jam is ready to eat. Keep it stored in the fridge for up to 1 month.
IMPORTANT! This stuff is molten-freakin-lava and has the potential to send you to the emergency room so be careful! See safety tips below!
Safety Tips
- Cook on a back burner and make sure the handle of the pan is turned in so no one can bump or knock it
- Make sure kids and pets are occupied away from the kitchen, this isn’t a project for kids (or pets, unless your pets are raspberries)
- Don’t try to taste the jam out of the pot or the jar before it’s ready
- Use pot holders whenever you handle the jarred jam until it is cooled completely
- Don’t rinse the hot jar if you spill down the side while filling it, wait until it is cooled completely or it may explode
- Don’t put the hot jar in the fridge to try and speed up the cooling, just be patient and wait the 12 hours or it may explode
Notes
 Do not try to make a double batch of jam with this recipe, it is only for making the exact amount specified.
- I put the berries in a glass bowl and defrost them in the microwave using the microwave’s 1 lb. defrost cycle. They are generally still a little bit frozen but once I start smooshing them they defrost the rest of the way.
- Once smooshed, there should be 1 & 1/2 cups of berries, so if you want to use fresh berries you need to smoosh them before you measure.
- Don’t worry that your jam looks too saucy, it will be thickened to jam consistency when it’s cooled completely.
- The 99¢ store sells small mason jars, that is what I used (in the pictures). The jam fit nearly perfectly in one jar with only a tablespoon of excess. I put the excess in a glass custard cup and let it cool to room temperature before I ate it with a little spoon. A very, very tiny little spoon.
Other Posts You Might Like...
I adapted this from my mother's recipe, originally just to make a smaller version but over the y...
This is another salad I've been making basically the same way for 20 years. I vary the ingredien...
Now that it's finally wintery and cold outside, a good old fashion casserole really hits the spo...