This coming Friday is Chinese New Year, Happy Chinese New Year!
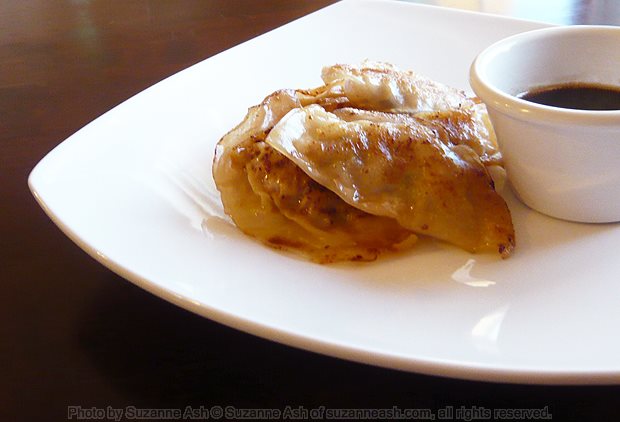
Please forgive the picture on this post, I’m hoping to get a better one next time I make these. To be fair, I was lucky to get this picture since they were disappearing at record speed even before dinner was served.
Seriously, who doesn’t like potstickers? Personally, I love them! But they are pretty expensive to “pig out” on if you get them from a restaurant or even pre-made from the store. Don’t worry that homemade won’t taste as good, every time I make them everyone gorges themselves.
If you’d like to stuff yourself with these awesome little pillows of goodness, then give my recipe a try. It’s a little time consuming but otherwise simple and the results never fail to impress.
Ingredients
- 1 tsp olive oil
- 1½ tsp finely minced garlic
- 1½ tsp finely minced ginger
- 2c finely sliced Napa cabbage
- ¼c finely grated carrot
- ¼c finely sliced green onion (white & green parts)
- 1 egg, beaten
- 1 TBSP dark soy sauce
- ½ tsp ground black pepper
- 1 tsp sesame oil
- ½lb. ground pork
- 60 potsticker wrappers
- 4 TBSP vegetable oil, divided
- 1 Knorr stock cube (chicken or vegetable) dissolved into 1c boiling water
Dip
Mix together:
- 4 TBSP dark soy
- 3 TBSP rice wine vinegar
- 1 tsp sesame oil
Optionally, add all or some of these: finely sliced green onion, finely sliced red chilies, finely sliced ginger, finely sliced garlic
Equipment
- 2 baking trays
- 3 sheets of parchment paper (cut to fit the baking sheets)
- 1 clean kitchen or tea towel (cloth not paper)
- small bowl of water for sealing
- 18″ fry pan with a lid
Instructions
Filling
- Heat the oil in a large fry pan over medium heat, add the garlic, ginger and cabbage. Saute over medium heat for about 5 minutes, or until the cabbage is soft and cooked through.
- Remove the pan from the heat, add the carrot and the green onions. Stir well and set aside and cool to lukewarm.
- In a large mixing bowl, stir together the the egg, soy sauce, pepper and sesame oil.
- Add the cooled vegetable mixture and the pork. Mix gently but thoroughly.
Assemble
- Line 1 baking tray with 1 pieces of the parchment paper.
- Soak the towel in water and then wring out as much of the water as you can.
- Lay the towel over the lined baking tray and fold back half.
- On clean work surface, layout 6 wrappers at a time, dip your finger in water and run it around the edge of each wrapper.
- Put approximately 1½ tsp of the filling in the middle of each, then fold over and seal. Take care to squeeze out any air bubbles.
- Lay the pot stickers on the baking tray and cover them as you go.
- Repeat until you get to 15, then turn the tray around and fold the towel back to half and assemble another 15.
- When you get to 30, cover the first layer with the second sheet of parchment and then the damp towel, folding it back by half again.
- Assemble the last 30 potstickers in the same way and set aside covered.
Cook
- Preheat the oven to 200f and set out the second baking tray , lined with the last piece of parchment.
- Heat the fry pan over high. Once hot, add 1 TBSP of the oil and swirl to coat.
- Quickly add 15 of the potstickers in a single layer, cook for 2 minutes and then flip them over.
- Add ¼c of the broth and put on the lid. Cook for 2 minutes and then remove the lid, cook for two minutes more.
- Remove the potstickers to the second lined baking tray and put in the oven to keep warm.
- Repeat until all the potstickers are cooked.
Makes 60 Potstickers – Serve with small bowls of dip on the side
Notes
- Once the potstickers are cooked they don’t tend to stick together so you don’t need to worry about making a single layer while they are keeping warm in the oven.
- I don’t like any “chunkies” in my potsticker dip, but a lot of people do. Finely sliced green onions are generally as far as I’m willing to go to make it look prettier.
- Make a double batch of the filling and freeze half for another time – no need to defrost and you cook them exactly the same way for the same amount of time
