
I’ve saved up several different types of egg cartons to experiment with making egg carton flowers and I researched a load of tutorials for the process. Although I thought the roses looked the nicest, I’m not really into cutting out massive amounts of stuff. I took that into consideration when I deciding on what type of flower I would make.
So, I made some egg carton daisies…
 As with most of my crafty posts, I like to state upfront that this post is how I made this craft, it is not meant to be a tutorial. There is a crapton of tutorials out there if you need one.
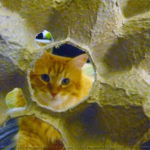
To start off I knew I’d be doing the tedious cutting part of the craft so I decided that the best place for this would be on my bed so I could relax. I put on my headphones to listen to music after I grabbed an egg carton, some cutting tools and recruited an adorable assistant.
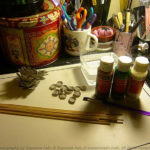
Here is a list of all the stuff I used:
- Egg carton from a flat of eggs
- scissors
- crafting knife
- thin bamboo skewers
- tweezers
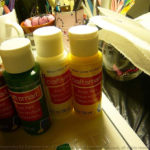
- craft paint (white, yellow, green)
- craft paint brush
- green construction paper (optional)
- small circle punch (optional)
- needle tool
- glue gun
- adorable assistant (optional, but you’re crazy not to get one!)
- wire cutters (optional)
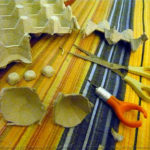

I tried cutting out the bits I needed with scissors but it was difficult, slow going and it tore up the egg carton. Then I switched to using a craft knife and it was a lot easier and the cuts were cleaner. I purchased a “Fiskars Fingertip Craft Knife” for under $4. I love it, it’s very comfortable and easy to make precise cuts with. However, on this particular project, I ended up using it like a regular old craft knife. My assistant thought I should have just gotten one of my regular craft knives to use but I suspected it was a plot to get me to leave him alone with the materials so he could do some “crafting” of his own.
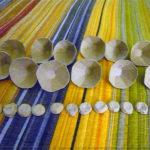
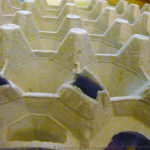
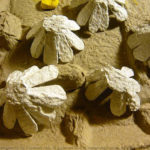
I found that cutting the carton from the back with the crafting knife was the quickest easiest way to proceed. I needed a dozen of the cups and a dozen of the nipples. Yes, egg carton nipple! Feel free to use that as an insult to or a pet name for someone you know.
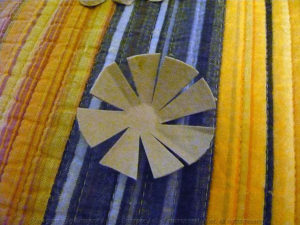
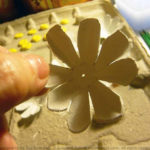
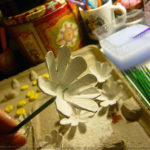
Once I had all the cups and nipples cut, I switched to scissors and trimmed everything up so they were all relatively the same size. I then made 8 cuts in the cups, resisting the urge to follow the 8 creases in the cups because they are uneven. I found that cutting all the way to the circle in the middle produced the best flower shape. Once I got all the cuts made to all the cups, I went back and rounded out the edges and tried to stay as close to the edge as possible to keep the petals the same size. I wasn’t always successful but they still looked ok.
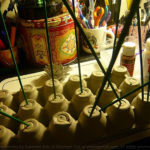
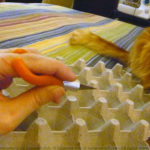
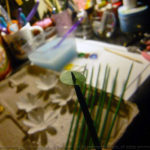
By this time my assistant had wandered off to take a nap, which was just as well because it was time to move the cutouts to my crafting table and get painting. Originally I was going to paint a little brown in the centers to make them more realistic looking, then I thought, “no one is going to mistake these for real flowers” so I embraced the artsy non-realistic look and left out the brown. I painted the skewers green first and used an old egg carton to poke them into while they dried.
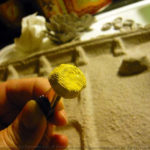
I used the lid of an egg carton for a painting & drying mat. I didn’t make a plan for the order of what I was painting and just winged it. In hindsight, I’d have painted the flowers, then nipples, then skewer. In reality, I painted the nipples after the skewers and then did the flowers last. I found that pinching the nipples with tweezers from behind was the easiest and least messy way to paint them. Go ahead and laugh at that last sentence, I laughed when I wrote it!
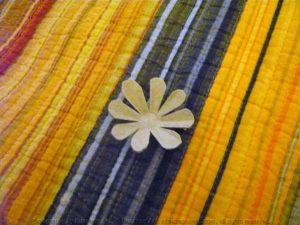
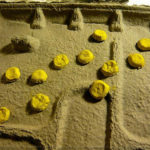
I painted the flowers front and back and let everything dry completely before assembling them. While stuff was drying I used the small circle punch to make a dozen little green circles out of the construction paper. To assemble, I used a needle tool to make a hole in the middle of each flower, then poked a circle on to a skewer, then the flower, then a blob of hot glue and finally I capped the glue covered pointed end of the skewer with a painted nipple.
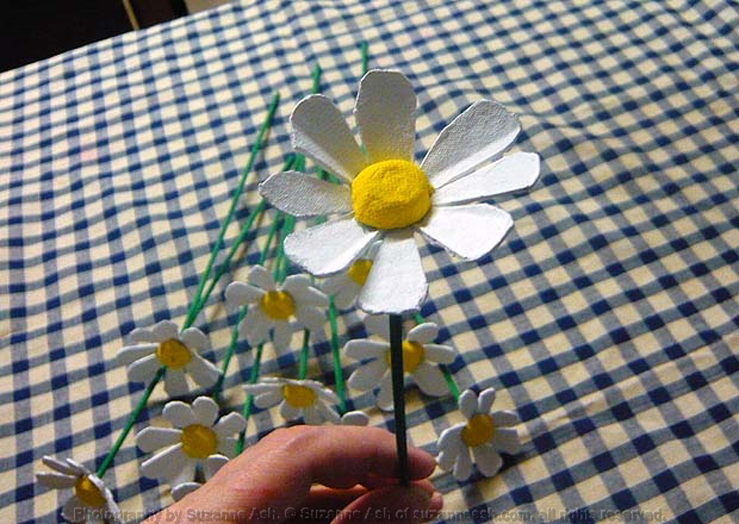
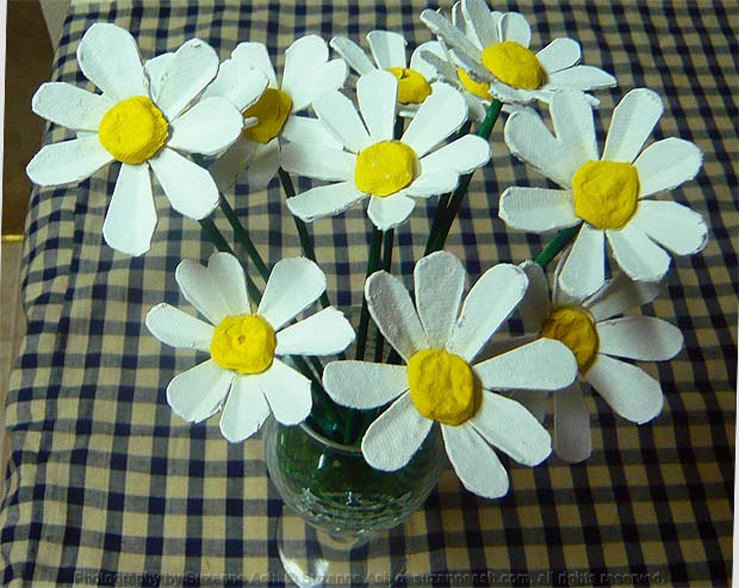
I completely forgot to photograph the nipple capping, but I’m sure you get the idea. Above is the finished flowers. They came out pretty well, I think they are cute and kind of artsy.


Really, these “daisies” could be any color you want to paint them. I decided to paint just one of the flowers blue. Did you ever see a film called “Little Man Tate”? This isn’t like that! I just like the color blue.
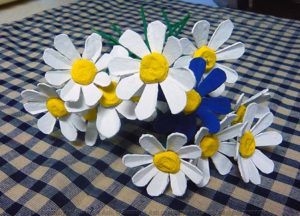

These pictures were taken before I cut the stems with some wire cutters. You could, of course, leave them all the same length if you wanted to. I thought they looked better lying down with all the same size stems, but much better with different length stems when I put them in a vase.
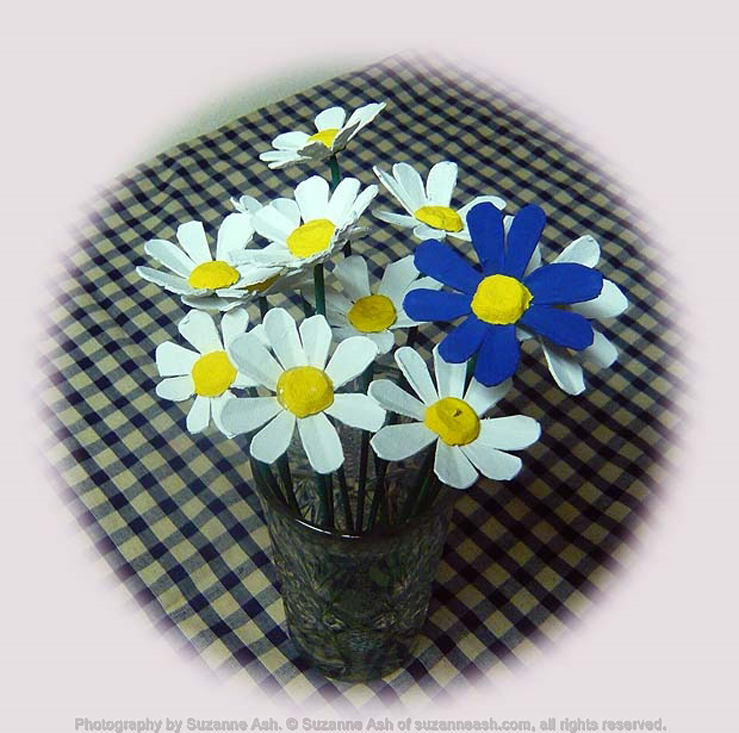
I’ll be honest, I didn’t enjoy this craft enough to ever do it again. I’m glad I did it and now I know I’m not missing out. Plus, I can finally get rid of all the empty egg cartons I’ve been hoarding!
Other Posts You Might Like...
Just for fun, I started making bookmarks. I cut some paper, used my watercolors to decorate some a...
Would it be romantic to slip a little love note into someone's lunchbox and/or briefcase and/or ba...
Hand weights are not that expensive but they are a waste of money if you never used them! I am ...