
Just for fun, I started making bookmarks. I cut some paper, used my watercolors to decorate some and markers and gel pens to decorate some and did a little heat embossing over distressed ink on one, but that’s not important. You could just as easily use a cut out from a magazine page or print something you like the look of. I personally enjoy small art projects so if you do too, this is a perfect way to use them.
This is how I did it…
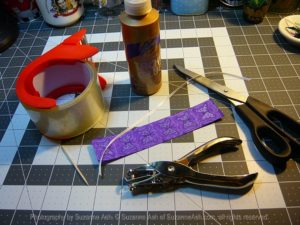
I gathered up my bookmark art (1.25″x6″), some scissors, a hole punch, some clear tape wider than my bookmark art (1.75″), some ribbon that would fit through a standard size hole punch hole, a toothpick, and some craft glue.
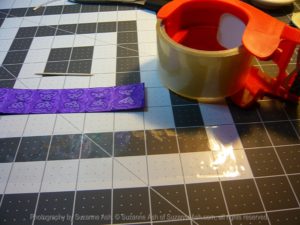
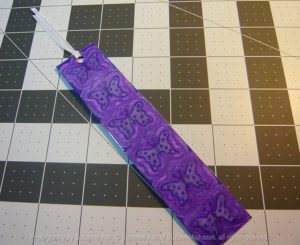
I laid out a piece of the clear tape sticky side up, making sure it was longer than my bookmark art. I found the toothpick helpful in getting the tape to lay down and not be stuck to my fingers.
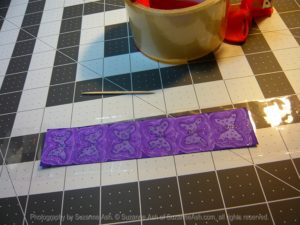
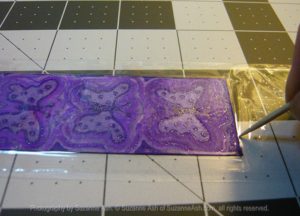
I put the bookmark art on top and smoothed it over, before putting another piece of the tape on top. I then used the toothpick to go around the edges to get a tighter seal.
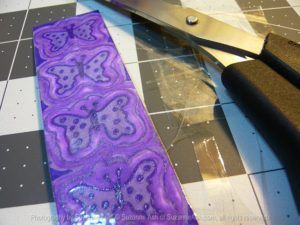
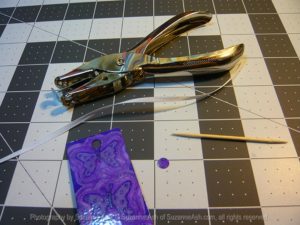
I trimmed the tape closely leaving only a tiny border of the tape, before punching a hole at the top.
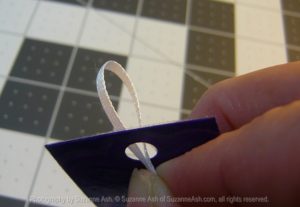
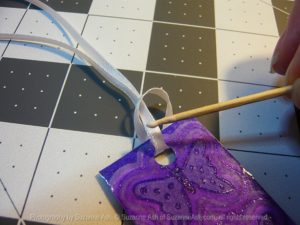
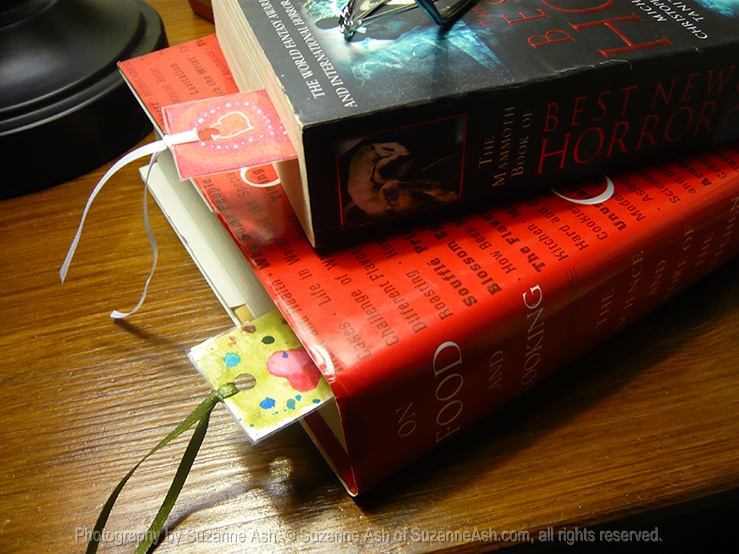
I made a loop from the ribbon, and put it through the front of the bookmark, then pulled the tail ends of the ribbon through the loop. I dabbed on a bit of craft glue before I pulled the ribbon tight.
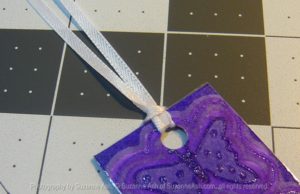
I kept the bookmark relatively flat by looping the ribbon this way, and the glue is a bit of insurance that it won’t slip off.
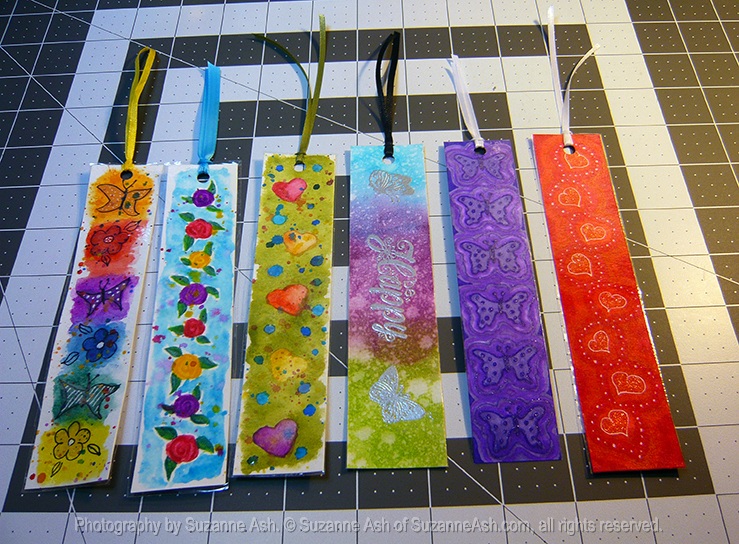
These are all the bookmarks I’ve made so far, the two heart themed ones are my favorites.