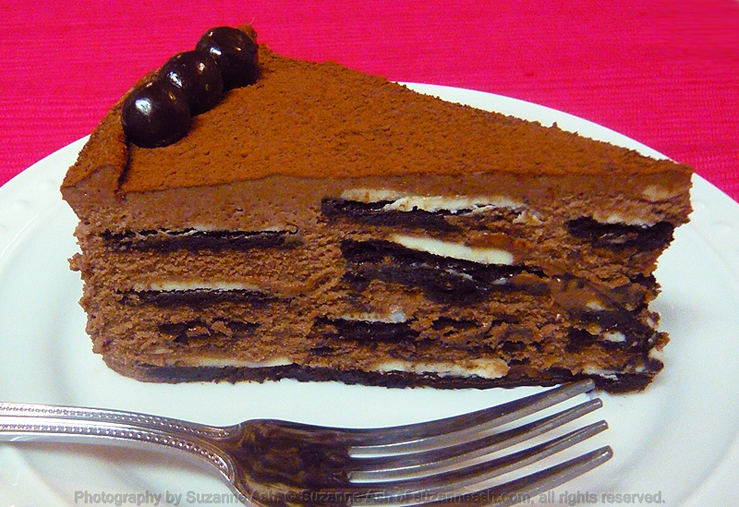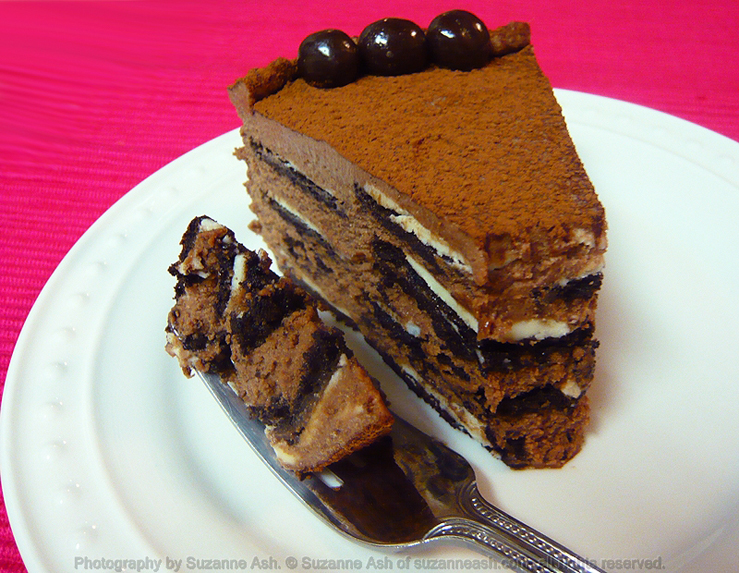
It’s really hot in California right now. Not just pleasant summery hot, but fry an egg on the sidewalk hot! Turning on the stove, let alone the oven is not something I want to do. However, I still want cake. Yes, I pretty much always want cake, so an icebox cake is just the thing for this situation! Icebox cakes need no baking, in fact, no cooking at all. It sort of “bakes” in the refrigerator. The chocolate filling is thick but the cookies still soak up enough of it to get soft. The result is a lovely creamy mousse type cake that’s got some texture to it, as well as a wonderful rich flavor.
Ingredients
- 16oz mascarpone cheese
- 2c heavy cream, cold
- 1/4c boiling hot water
- 1/2c granulated sugar
- 1/4c unsweetened cocoa powder
- 1 TBSP instant coffee (optional)
- 1 tsp vanilla
- 1 family size (1 lb 10 oz/737 g) pack of Oreo Cookies
- 1 TBSP of unsweetened cocoa powder
- 36 chocolate candies to decorate (optional)
Instructions
You’ll need an 8″ spring form or loose bottom cake tin, nothing special needs to be done to it.
- Take the mascarpone cheese out of the fridge and let it sit at room temperature for half an hour, it will still be cold but easier to work with.
- Meanwhile, in a heat-proof bowl or measuring jug, whisk together the sugar, cocoa powder and coffee granules. Let stand for 20 minutes to cool.
- Whip together the cheese, the cooled chocolate mixture and the vanilla, until it forms stiff peaks.
IMPORTANT! As soon as it’s at stiff peaks stop whipping it or you’ll end up with chocolate butter!
- Divide the Oreos into 3 even piles, twisting them open as you go. You can remove the filling if you want to, I like to leave it in.
- Line the cake tin with 1 of the piles of split open Oreos, always making sure any filling (or the side the filling was on) is facing up. It’s important that this first layer be as solid as possible, but not bulky. So, break up some of the cookies to try and get an even single layer.
- Then add 1/4 of the chocolate mixture and smooth it over so that it covers the layer of cookies completely. It will be a thin layer, but enough to cover.
- Repeat this process, ending with the chocolate mixture. The other cookie layers should all be filling side up (or the side the filling was on), but don’t knock yourself out filling the gaps. It doesn’t need to be solid like the first layer.
- You should have 3 cookie layers and 4 chocolate mixture layers, starting with cookie and ending with chocolate mixture.
- Take care to smooth over the last layer of the chocolate mixture so no cookies are exposed. Cover with plastic wrap and chill for at least 12 hours (24 hours is better).
- Remove the cake from the pan, and dust with a tablespoon of cocoa powder.
- Decorate with chocolate candies, if using.
- To slice, use a large sharp knife. Dip the knife in hot water and wipe clean/dry after each cut. The cake can be decorated and cut for serving later, it will keep for several days in the refrigerator in a lidded container or cake carrier.
Makes 12 Servings
Notes
- I like to run thumb around the edge of the cake before I chill it. It’s what creates the little pie crust type ridge in the photos.
- I did not get a chance to take a photo of the whole cake before it was sliced, but I like to put 3 candies together, then a small space, to show each serving. Then I simply cut each slice between the 3 candies.
- I used 2 tablespoons of instant coffee granules and chocolate covered coffee beans to make this into a mocha cake. You could leave the coffee out, but 1 tablespoon just enhances the flavor of the chocolate and doesn’t add a coffee flavour. If you’re worried about caffeine, use decaf.
Substitutions
- Mascarpone can be expensive. Where I shop it’s about $1 more than I’d pay for a pound of brand name cream cheese, so it’s worth it to me to get “the good stuff”. Though, you could use cream cheese (get Neufchatel it’s softer) but there will be a little “tang” from it that you don’t get from mascarpone.
- You could use store brand/generic sandwich cookies or any type of crispy cookie that gets soggy when you dip it in milk, but stays firm enough to not fall in the milk. Personally, I like to use real Oreos or English bourbons.

